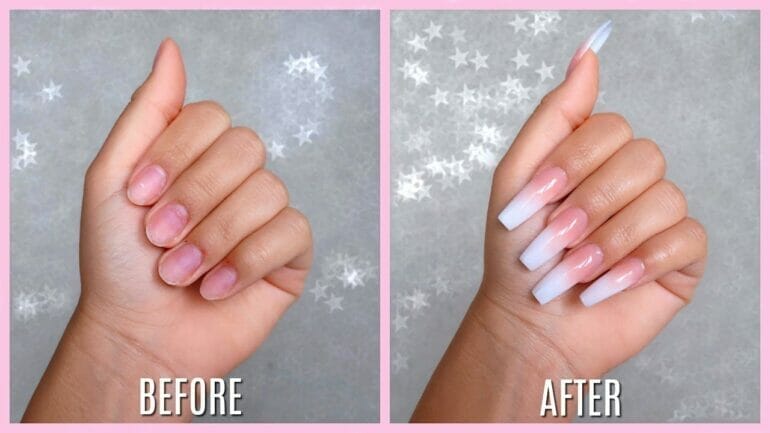
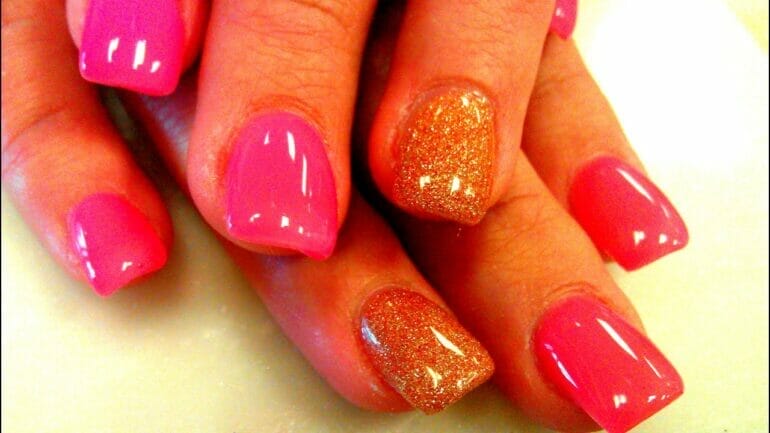
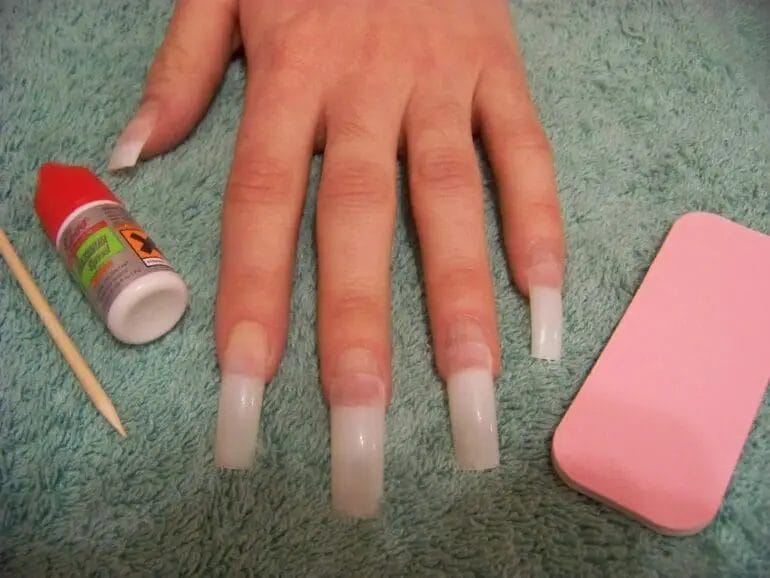
If you’re looking to add a fun and stylish touch to your acrylic nails, nail stickers are the perfect option! Adding nail stickers to your acrylic nails is a simple and easy process that can be done at home. First, prepare your acrylic nails by filing and buffing them to create a smooth surface. Next, choose your desired nail sticker design and carefully peel it off the sheet. Gently place the sticker onto your acrylic nail, making sure to press it down firmly to ensure it sticks. Finally, apply a layer of top coat to seal the sticker and give it a long-lasting finish. With these simple steps, you’ll have gorgeous, eye-catching nails in no time!

Preparation before applying nail stickers on acrylic nails
Before applying nail stickers on your acrylic nails, it is important to properly prepare your nails to ensure that the stickers adhere well and last longer. Taking the time to prepare your nails will result in a more professional and polished look. Here are the steps you should follow:
1. Clean and Shape your Nails
Start by removing any old nail polish or residue from your nails using a gentle nail polish remover. Once your nails are clean, use a nail file to shape them to your desired length and shape. Be gentle and avoid filing too aggressively as this can weaken or damage your acrylic nails.
2. Buff the Surface
Next, use a nail buffer to gently buff the surface of your acrylic nails. This will help to create a smooth and even surface, allowing the nail stickers to adhere better. Be careful not to over-buff, as this can thin out the acrylic and make it more prone to breakage.
3. Push Back Cuticles
Use a cuticle pusher or a wooden stick wrapped in cotton to gently push back your cuticles. Pushing back the cuticles will create a clean canvas for applying the nail stickers and will prevent them from peeling or lifting prematurely.
4. Apply a Base Coat
Before applying the nail stickers, it is recommended to apply a thin layer of clear base coat to your acrylic nails. This will provide a smooth surface for the stickers to adhere to and will also protect your nails from any potential staining.
5. Choose and Apply Nail Stickers
Now it’s time to choose your desired nail stickers. Select stickers that are the right size and shape for your nails, and carefully peel them off from the backing sheet. Place the sticker on your nail, starting from the cuticle and pressing it down firmly. Smooth out any wrinkles or bubbles using a cuticle pusher or a clean fingertip.
6. Seal with Top Coat
To ensure that your nail stickers last longer and stay in place, finish off by applying a layer of clear top coat over the entire nail. This will seal the edges of the stickers and provide added protection against chipping or peeling.
7. Let it Dry
Allow your nails to dry completely before touching anything or applying any pressure. This will prevent smudging or damaging the nail stickers. You can use a quick-drying top coat or a nail drying spray to expedite the drying process.
In summary, preparing your acrylic nails before applying nail stickers is essential for achieving a professional and long-lasting result. Clean and shape your nails, buff the surface, push back cuticles, apply a base coat, choose and apply the nail stickers, seal with a top coat, and let it dry. Following these steps will ensure that your nail stickers adhere well and stay in place, giving you a beautiful and trendy manicure.

Step-by-step Guide to Applying Nail Stickers on Acrylic Nails
Are you looking to add a unique and stylish touch to your acrylic nails? Nail stickers are a fantastic option! These decorative little designs come in a variety of colors, patterns, and designs, making it easy to find something that suits your personal style. Applying nail stickers on acrylic nails is a simple process that anyone can do at home. In this section, we will provide you with a step-by-step guide to help you achieve flawless nail art with nail stickers.
Step 1: Prepare Your Nails
Before applying any nail stickers, it’s important to prep and clean your nails properly. Start by removing any old polish and filing your nails to your desired shape. Gently buff the surface of your nails to create a smooth canvas for the stickers.
Step 2: Select Your Nail Stickers
With a wide variety of nail stickers available in the market, take your time to choose a design that complements your style and preferences. From floral patterns to geometric shapes and even intricate designs, there’s a sticker for every taste. Consider the colors in the stickers and how they will complement your overall look.
Step 3: Apply a Base Coat
Applying a clear base coat is essential to protect your nails and ensure a longer-lasting manicure. The base coat creates a smooth surface for the stickers to adhere to and helps prevent any damage to your natural nails.
Step 4: Trim and Size the Stickers
Once you’ve chosen your desired sticker design, carefully trim the stickers to match the size and shape of your nails. You can use a pair of scissors or nail clippers for this step. Make sure to select the correct size for each nail to achieve the best results.
Step 5: Peel and Apply the Stickers
Gently peel the nail sticker from its backing using a pair of tweezers or your fingers. Carefully place the sticker onto your nail, starting from the cuticle and pressing it down firmly. Smooth out any air bubbles or wrinkles by gently pressing the sticker down with your finger or a cuticle stick.
Step 6: Seal with a Top Coat
Once all the stickers are applied and aligned to your satisfaction, seal them in place with a high-quality top coat. The top coat will add an extra layer of protection against chipping and ensure the stickers stay in place for a longer duration.
Step 7: Allow Time to Dry
Give your nails ample time to dry completely before engaging in any activities that may damage or smudge the stickers. Follow the drying time instructions on the top coat product for the best results.
Step 8: Enjoy Your Fabulous Nail Art
Once your nails are dry, admire your stunning nail art! Nail stickers are a quick and easy way to add a touch of flair to your acrylic nails. Flaunt your beautiful manicure and receive compliments on your unique and stylish nail design.
Now that you have a step-by-step guide to applying nail stickers on acrylic nails, you can experiment with different designs and patterns to create stunning nail art. Remember to have fun and let your creativity shine through as you enjoy your beautifully decorated nails!

Tips and Tricks for a Long-Lasting Nail Sticker Application on Acrylic Nails
If you love having beautifully designed nails but don’t have the time or skill for intricate nail art, nail stickers can be a game-changer. They offer a quick and easy way to achieve stunning nail designs without the hassle of painting or drawing. However, applying nail stickers on acrylic nails requires some special attention to ensure a long-lasting and flawless finish. In this section, we will share some valuable tips and tricks to help you achieve a perfect nail sticker application on your acrylic nails.
1. Prepare Your Nails
Before applying any nail stickers, it’s essential to properly prepare your acrylic nails. Start by gently buffing the surface of your nails with a nail buffer or a fine-grit nail file. This step will help create a smooth surface for the nail stickers to adhere to, ensuring a seamless finish.
2. Cleanse Your Nails
It’s crucial to clean your nails thoroughly before applying nail stickers. Use a non-acetone nail polish remover to remove any oils, dirt, or residual nail products from your nails. This step will help the stickers adhere better and last longer.
3. Choose the Right Size
Ensure that you select nail stickers that fit your nails properly. Pick the size that closely matches your nail bed’s width and length for a precise and professional look. If the sticker is too large, it may wrinkle or lift at the edges, leading to premature peeling.
4. Apply a Base Coat
For extra adhesion and longevity, it’s recommended to apply a thin layer of clear base coat before applying the nail stickers. This will provide a smooth foundation and prevent the stickers from lifting or chipping easily.
5. Use Tweezers or an Orange Stick
To maintain cleanliness and precision, use a pair of tweezers or an orange stick to handle and apply the nail stickers. This will help you avoid touching the adhesive side with your fingers, which may transfer oils and compromise the sticker’s adhesion.
6. Press and Smooth
Once you have applied the nail sticker onto your acrylic nail, use a gentle but firm pressure to press it down and smooth out any air bubbles or wrinkles. Start from the center and work your way towards the edges to ensure a secure and even application.
7. Seal with a Top Coat
To protect the nail sticker and prolong its lifespan, seal it with a layer of clear top coat. This will add an extra barrier against chipping, peeling, and fading. Make sure to apply the top coat carefully, covering the entire surface of the nail sticker.
8. Avoid Excessive Exposure to Water
While nail stickers are generally water-resistant, excessive exposure to water can weaken their adhesive properties. To extend the longevity of your nail stickers, try to minimize prolonged contact with water, especially when doing tasks like washing dishes or soaking in water.
9. Be Gentle
Even though nail stickers provide a durable finish, it’s still essential to be gentle with your nails. Avoid using your nails as tools or picking at the edges of the stickers. Treat them with care to prevent unnecessary peeling or damage.
In summary, achieving a long-lasting nail sticker application on acrylic nails requires proper nail preparation, careful handling of the stickers, and the use of base coat and top coat for added adhesion and protection. By following these tips and tricks, you can enjoy beautiful and vibrant nail designs for an extended period.
Removing Nail Stickers from Acrylic Nails without Damaging Them
Acrylic nails are a popular choice for those who want long, durable and beautiful nails. One way to enhance the look of acrylic nails is by applying nail stickers. These stickers come in a variety of colors, patterns, and designs, allowing you to create unique and stunning nail art. However, when it comes time to remove these stickers, you may be worried about damaging your acrylic nails. In this section, we will discuss some effective techniques for safely removing nail stickers from your acrylic nails without causing any damage.
Gentle Peeling Method
The first method we will explore is the gentle peeling method. This technique is suitable for removing nail stickers that are not firmly stuck to your acrylic nails. Here’s how you can do it:
- Start by soaking a cotton pad in nail polish remover or acetone. Make sure the cotton pad is saturated but not dripping.
- Place the soaked cotton pad directly on top of the nail sticker.
- Let the cotton pad sit on the sticker for a few minutes to allow the adhesive to loosen.
- Gently peel off the sticker using tweezers or your fingers. Start from one corner and slowly lift the sticker.
- If the sticker doesn’t come off easily, repeat the soaking process for a little longer and try again.
- Once the sticker is removed, use a clean cotton pad soaked in nail polish remover to wipe away any remaining adhesive residue.
Warm Water Soak Method
If the nail sticker is firmly adhered to your acrylic nails, you can try the warm water soak method. Here’s how you can do it:
- Fill a bowl or basin with warm water. The temperature should be comfortable to touch.
- Add a few drops of mild soap or dishwashing liquid to the water and mix it gently.
- Place your fingertips in the warm soapy water and let them soak for about 10-15 minutes.
- After soaking, use an orangewood stick or a cuticle pusher to gently scrape off the sticker. Be careful not to apply too much pressure or force, as it can damage your acrylic nails.
- If the sticker is not coming off easily, you can repeat the soaking process for a little longer and try again.
- Once the sticker is removed, rinse your hands with clean water to remove any soap residue.
Using Olive Oil or Coconut Oil
If you prefer a more natural approach, you can use olive oil or coconut oil to remove nail stickers from your acrylic nails. These oils work by softening the adhesive, making it easier to peel off the stickers. Here’s how you can do it:
- Pour a small amount of olive oil or coconut oil onto a cotton pad.
- Place the oil-soaked cotton pad on top of the nail sticker.
- Let it sit for a few minutes to allow the oil to penetrate and soften the adhesive.
- Gently peel off the sticker using tweezers or your fingers.
- If the sticker is stubborn, you can apply more oil and let it sit for a little longer.
- After removing the sticker, wipe away any remaining adhesive residue with a clean cotton pad.
In summary, removing nail stickers from acrylic nails can be done without causing any damage if the right techniques are used. Whether you opt for the gentle peeling method, warm water soak method, or using olive oil or coconut oil, always remember to be gentle and patient. Taking care of your acrylic nails during the removal process will help maintain their beauty and durability.
FAQs
How do I put nail stickers on acrylic nails?
To put nail stickers on acrylic nails, start by prepping the nails with a base coat and desired nail polish color. Once dry, peel the sticker from the backing and carefully place it on the nail. Press down firmly to ensure it sticks well. Finish with a top coat to seal the sticker in place.
Conclusion:
In conclusion, nail stickers are a creative and convenient way to elevate the look of your acrylic nails. By following a few simple steps, you can easily apply nail stickers for a stylish and unique nail art design. Remember to clean and prep your acrylic nails properly before applying the stickers to ensure they adhere well. Take your time to position the stickers accurately and press them firmly onto the nails for longer-lasting results. Whether you prefer bold and vibrant designs or subtle and elegant patterns, nail stickers offer endless possibilities to express your personal style. So go ahead, get creative, and have fun experimenting with various nail sticker designs on your acrylic nails!
