
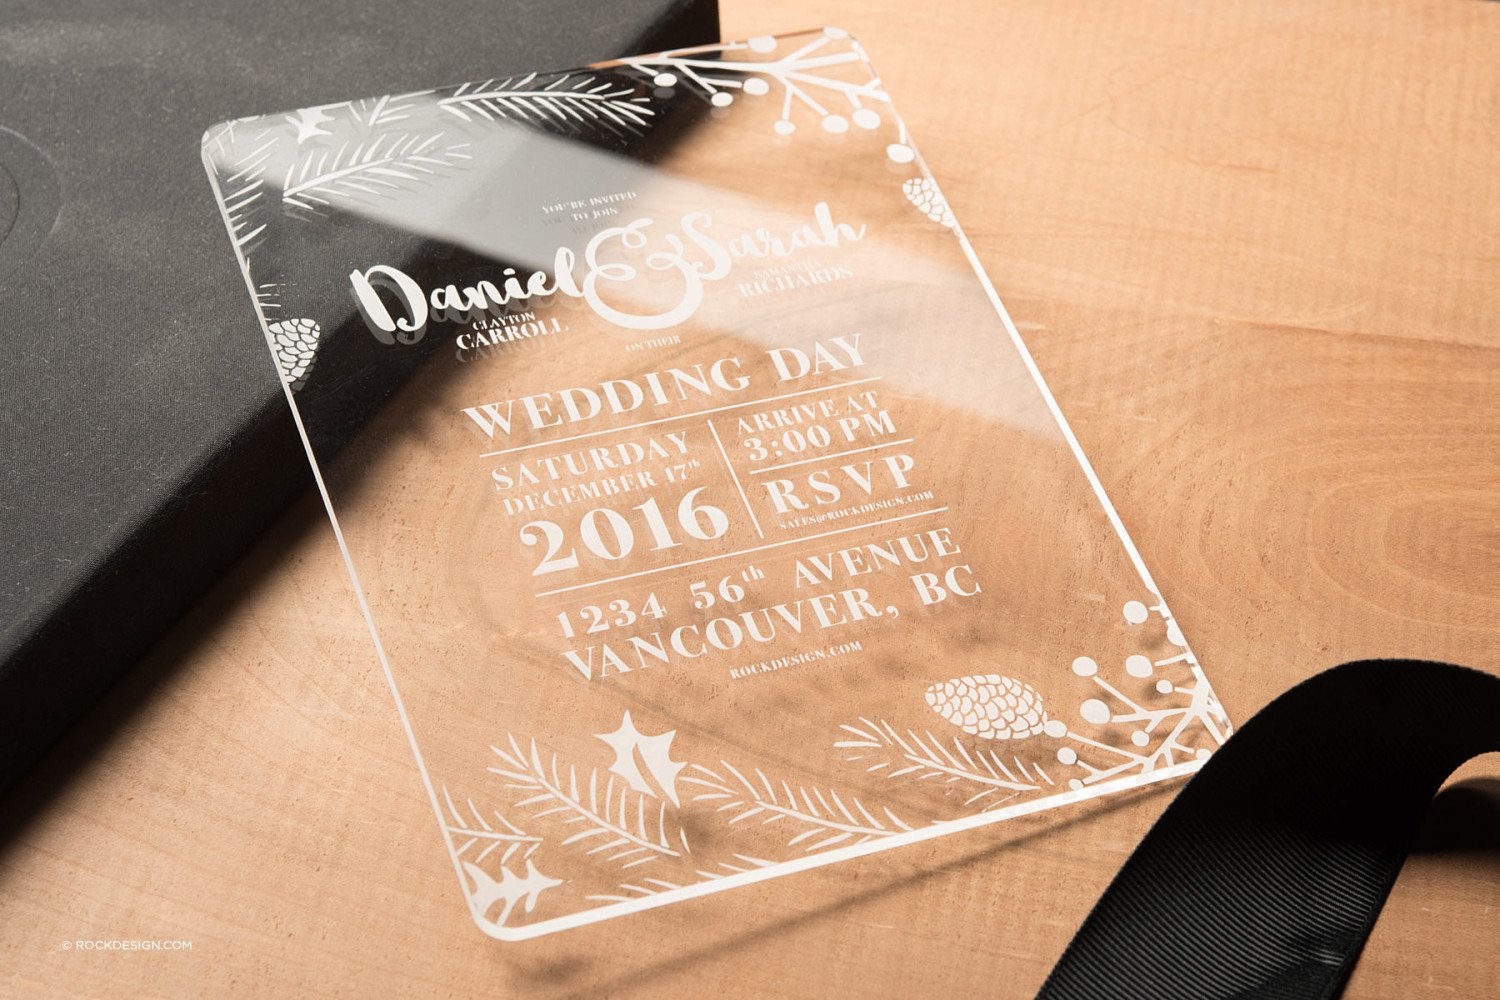
Looking to add a touch of elegance to your special event? Acrylic invitations are the perfect choice. These stunning and durable invitations are made from high-quality acrylic material, giving them a luxurious and modern look. Whether it’s a wedding, birthday party, or any other celebration, acrylic invitations are sure to impress your guests.
Wondering how to create your own acrylic invitations? It’s easier than you think. First, gather all the necessary materials, including acrylic sheets, a laser cutter, and design software. Next, create the design for your invitation using the software and transfer it to the laser cutter. Then, carefully cut the design on the acrylic sheet. Finally, assemble your invitation by adding any additional details, such as ribbons or embellishments.
Acrylic invitations offer endless possibilities for customization. You can choose from a variety of colors, shapes, and sizes to match your theme and personal style. Additionally, acrylic is a versatile material that allows for unique design features, such as engraved details or transparent elements. The result is a truly one-of-a-kind invitation that will leave a lasting impression on your guests.
So, if you’re looking for a stylish and modern alternative to traditional paper invitations, consider acrylic invitations. With their sleek design and customization options, they are sure to set the tone for an unforgettable event. Start creating your own acrylic invitations today and make your celebration truly special.
Step-by-Step Guide for Creating Acrylic Invitations
Acrylic invitations are becoming increasingly popular for weddings, parties, and other special events. Their sleek and modern look adds a touch of elegance to any invitation. If you’re interested in creating your own acrylic invitations, follow this step-by-step guide to get started.
Gather Materials
Before you begin, make sure you have all the necessary materials on hand. Here’s what you’ll need:
- Acrylic sheets: Choose the thickness and color of acrylic sheets you prefer.
- Printed Designs: Have your invitation design printed on transparent film.
- Scissors or Paper Cutter: To cut the acrylic sheets and printed designs to size.
- Drill or Punch Tool: To create holes for ribbon or other attachments.
- Ribbon or String: For securing the invitations.
- Adhesive: Use a strong adhesive specifically designed for acrylic.
Cut and Trim the Acrylic
Measure and mark the desired size for your invitations on the acrylic sheets. Use a ruler and a marker to make accurate measurements. Carefully cut the acrylic along the marked lines using scissors or a paper cutter. Make sure the edges are smooth and even.
Print and Prepare the Designs
Print your invitation designs on transparent film. Make sure the size matches the acrylic sheets. Trim the printed designs to the correct size using scissors or a paper cutter. This step is crucial to ensure that your design fits perfectly on the acrylic.
Attach the Printed Designs
Apply a thin layer of adhesive to the back of the printed design. Carefully place the design onto the acrylic sheet, aligning it with the edges. Press firmly to ensure a secure bond between the design and the acrylic. Allow the adhesive to dry completely before moving on to the next step.
Create Holes for Attachment
Using a drill or a punch tool, create holes in the acrylic for attaching the ribbon or string. Choose the desired location for the holes, ensuring they are evenly spaced and aligned. Be gentle and take your time to avoid damaging the acrylic.
Thread the Ribbon or String
Cut the ribbon or string into equal lengths, making sure they are long enough to tie around the invitation. Insert one end of the ribbon or string through the hole and tie a secure knot. Repeat this step for each hole on the invitation.
Final Touches
Check each invitation for any imperfections or smudges. Clean the acrylic gently using a soft, lint-free cloth. Make sure everything is in place and secure before packaging the invitations for delivery or distribution.
Summary
Creating acrylic invitations is a fun and creative way to personalize your event. By following this step-by-step guide, you can achieve professional-looking acrylic invitations that will impress your guests. Remember to gather all the necessary materials, cut and trim the acrylic, attach the printed designs, create holes for attachment, thread the ribbon or string, and complete the final touches. With a little patience and attention to detail, you’ll have stunning acrylic invitations that will be the talk of the town!
Creative Ideas for Customizing Acrylic Invitations
Acrylic invitations have become increasingly popular for special events such as weddings, birthday parties, and corporate functions. Their sleek and modern design, along with the versatility of customization, makes them a unique choice for those looking to make a lasting impression. If you’re considering using acrylic invitations for your next event, here are some creative ideas to help you customize them and make them truly memorable:
1. Laser Engraving
Laser engraving is a great way to add an elegant touch to your acrylic invitations. It allows you to create intricate and detailed designs on the surface of the invitation. From monograms and floral patterns to custom logos and text, laser engraving offers endless possibilities for personalization. Consider incorporating elements that reflect the theme or style of your event to make the invitations truly stand out.
2. Custom Colors
One of the advantages of acrylic invitations is that they are available in a wide range of colors. Instead of sticking to traditional clear acrylic, consider choosing a color that matches your event’s theme or color scheme. From vibrant hues to soft pastels, the color options are endless. You can also experiment with translucent or frosted acrylic for a more unique and ethereal look.
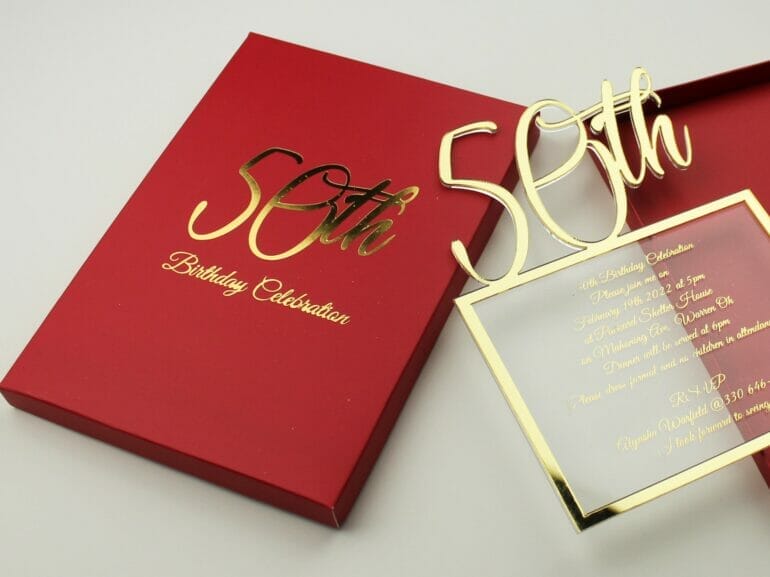
3. Embellishments
Add an extra touch of luxury and sophistication to your acrylic invitations by incorporating embellishments. Consider adding metallic foil accents, such as gold or silver, to highlight important details or design elements. You can also opt for Swarovski crystals or other gemstones to add a touch of glamour. Embellishments can be strategically placed to enhance the overall design and create a wow factor.
4. Cut-Out Designs
Take your acrylic invitations to the next level by incorporating cut-out designs. Laser cutting technology allows you to create intricate shapes and patterns on the acrylic surface, adding a touch of uniqueness to your invitations. From delicate lace-inspired designs to geometric shapes, the possibilities are endless. Cut-out designs can be used to create a peek-a-boo effect, allowing guests to catch a glimpse of what’s inside the invitation.
5. Translucent Inserts
Add depth and dimension to your acrylic invitations by including translucent inserts. These inserts can be made from vellum or other translucent materials and can be printed with additional information or design elements. They can be placed behind or in front of the acrylic surface, adding an extra layer of visual interest. Translucent inserts also allow you to play with different textures and finishes, creating a multi-dimensional effect.
6. Custom Shapes
Instead of going for the traditional rectangular shape, consider customizing your acrylic invitations with unique shapes. Laser cutting technology allows you to create invitations in a variety of shapes, such as circles, squares, or even custom shapes that reflect the theme of your event. Custom shapes add a playful and unexpected element to your invitations, making them truly one-of-a-kind.
7. Personalized Packaging
To complete the customization of your acrylic invitations, consider personalizing the packaging as well. Choose boxes or envelopes that complement the design and style of the invitations. You can add custom labels, wax seals, or ribbons to further enhance the presentation. The packaging is the first thing your guests will see, so make sure it reflects the elegance and uniqueness of the invitations inside.
In summary, acrylic invitations offer a modern and sophisticated alternative to traditional paper invitations. By incorporating laser engraving, custom colors, embellishments, cut-out designs, translucent inserts, custom shapes, and personalized packaging, you can create truly unique and memorable invitations for your special event. Whether it’s a wedding, birthday party, or corporate function, these creative ideas will help you customize your acrylic invitations and leave a lasting impression on your guests.
Tips for Printing and Assembling Acrylic Invitations
Acrylic invitations have become increasingly popular for weddings, parties, and other special occasions. Their sleek and modern look adds a touch of elegance to any event. If you are considering using acrylic invitations for your next gathering, here are some tips to help you with the printing and assembling process:
1. Choose the Right Acrylic Material
There are various types of acrylic materials available in the market. It is important to choose the right one that suits your design and budget. Look for a high-quality, thick acrylic sheet that is at least 1/8 inch thick. This will ensure that your invitations are sturdy and durable.
2. Design and Print with Precision
Before printing your invitations, make sure to design them with precision. Use a high-resolution template or design software to create your invitation layout. Pay attention to the alignment and spacing of the text and graphics to ensure that they are centered and symmetrical.
When it comes to printing, opt for a professional printing service that specializes in working with acrylic materials. They will have the necessary equipment and expertise to print on acrylic without damaging the material. Alternatively, you can use a high-quality laser printer with suitable settings to achieve sharp and vibrant prints.
3. Test Print on Regular Paper
Before printing directly onto the acrylic, it is advisable to do a test print on regular paper. This will allow you to check the colors, layout, and overall appearance of the invitation. Make any necessary adjustments before proceeding to print on the acrylic sheet.
4. Handle with Care
When handling acrylic sheets, it is important to take precautions to avoid scratches or fingerprints. Wear clean gloves to protect the surface of the material. Clean the acrylic sheet with a non-abrasive cloth and mild soapy water before printing to remove any dust or debris.
Additionally, handle the printed acrylic sheets by their edges or wear gloves to prevent smudging the ink. Place the sheets on a clean and flat surface to prevent any warping or bending.
5. Assemble with Precision
Once you have printed the invitations and allowed them to dry, it is time to assemble them. Carefully remove the protective film from the acrylic sheet, taking care not to scratch the surface. Use a ruler or a straight edge to guide you when cutting the invitations to the desired size and shape.
Next, apply a thin layer of glue or adhesive to the back of the cut acrylic piece. Position it carefully onto the backing material, such as cardstock or another piece of acrylic. Press firmly to ensure a secure bond.
6. Add Finishing Touches
To add a touch of personalization to your acrylic invitations, consider adding embellishments such as ribbons, crystals, or metallic accents. These can be attached using adhesive or by drilling small holes in the acrylic and threading the embellishments through.
In summary, printing and assembling acrylic invitations requires attention to detail and careful handling. By following these tips, you can ensure that your acrylic invitations turn out beautifully and make a lasting impression on your guests.
Unique Ways to Incorporate Acrylic Invitations in Your Event Decor
Acrylic invitations have gained popularity in the world of event planning for their modern and sophisticated look. These transparent and durable invitations add a touch of elegance to any occasion. Beyond their primary purpose of inviting guests, acrylic invitations can be creatively incorporated into your event decor to make a lasting impression. In this section, we will explore five unique ways to incorporate acrylic invitations in your event decor.
1. Table Numbers
Instead of the traditional paper table numbers, why not use acrylic invitations to display your table arrangements? Engraving or printing the table numbers on acrylic cards not only serves as a functional guide for guests but also adds a stylish element to your table settings. Place them in acrylic stands or holders for an eye-catching centerpiece.
2. Menu Cards
Add a touch of sophistication to your event dining experience by using acrylic invitations as menu cards. Whether you opt for printed or engraved menus, the transparent nature of acrylic enhances the overall aesthetic. Display these elegant menu cards at each place setting or create a unique menu board using multiple acrylic invitations.
3. Place Cards
Make your guests feel special by incorporating acrylic invitations as place cards. Personalize each invitation with the guest’s name, and use them to designate seating arrangements. These transparent place cards can easily blend with any decor theme and add a modern twist to traditional seating arrangements.
4. Decorative Signage
Acrylic invitations can be utilized as decorative signage throughout your event venue. Create stunning welcome signs, directional signs, or even inspirational quotes using these transparent invitations. Add an extra touch of glamour by incorporating LED lights or floral arrangements to accentuate the beauty of the acrylic signage.
5. Escort Card Display
For events with larger guest lists, using acrylic invitations as escort cards can be a unique and practical choice. Create a visually appealing display by hanging the acrylic invitations on a frame or tying them to a decorative board. This not only helps guests easily locate their seating assignment but also doubles as an impressive decor element.
In summary, acrylic invitations offer endless possibilities for incorporating them into your event decor. Whether it’s as table numbers, menu cards, place cards, decorative signage, or escort cards, these transparent invitations add a touch of elegance and modernity to any occasion. Get creative and experiment with different ways to incorporate acrylic invitations to make your event truly unique and memorable.
FAQs
1. How can I create acrylic invitations?
To create acrylic invitations, start by designing your invitation using graphic design software like Adobe Illustrator. Once you have the design ready, print it onto transparent film or acetate. Next, cut the acrylic sheet to the desired invitation size and adhere the printed film onto the acrylic using a strong adhesive. Finish by adding any additional embellishments or details.
2. What materials do I need to make acrylic invitations?
To make acrylic invitations, you will need the following materials: acrylic sheets, transparent film or acetate, graphic design software, a printer, scissors or a paper cutter, a strong adhesive, and any additional embellishments or details you want to add to the invitations.
3. Can I print directly onto the acrylic sheet for invitations?
No, it is not recommended to print directly onto the acrylic sheet for invitations. Printing on transparent film or acetate and then adhering it to the acrylic provides better results and allows you to have more control over the design and placement of the elements on the invitation.
Conclusion
In conclusion, creating acrylic invitations is a unique and eye-catching way to add a touch of elegance to any event. By following the step-by-step process outlined in this guide, you can confidently design and execute stunning acrylic invitations that will impress your guests. From selecting the right materials to applying creative techniques, such as laser cutting or incorporating metallic accents, the possibilities are endless. Remember to experiment with different designs and colors to truly make your invitations one-of-a-kind. Whether it’s a wedding, birthday party, or corporate event, acrylic invitations are sure to leave a lasting impression and set the tone for a memorable occasion.