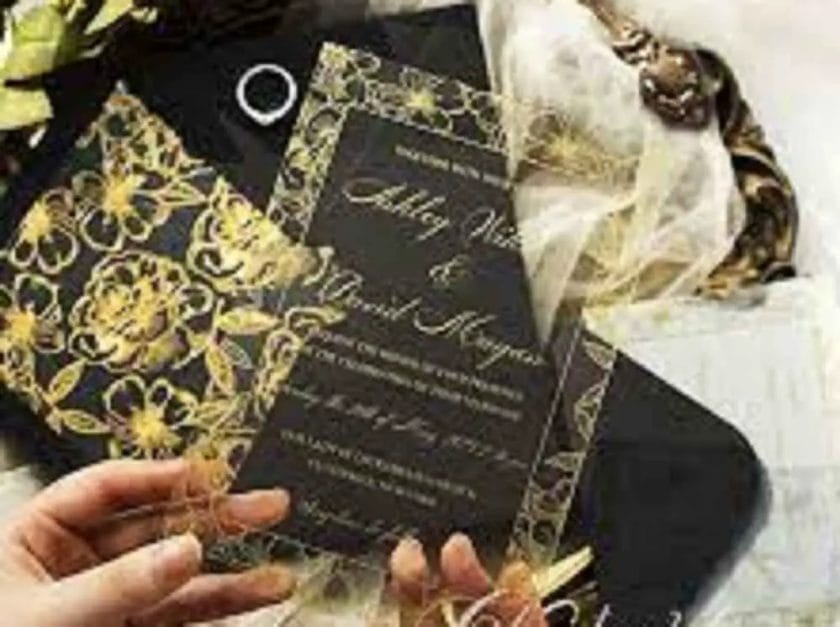
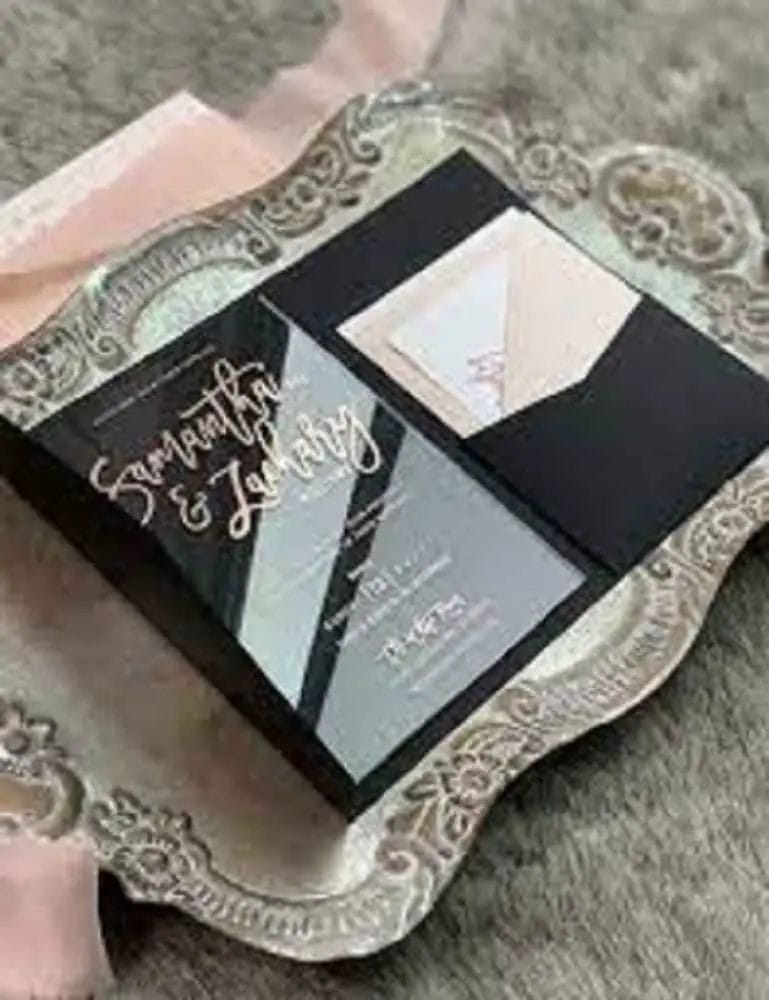
Acrylic invitations are a stylish and unique way to invite guests to special events. With a Cricut machine, you can create custom acrylic invitations that are tailored to your specific needs and preferences.
In this article, we’ll provide a comprehensive guide on how to make acrylic invitations with Cricut, including step-by-step instructions and tips for success.
Materials Needed
Before getting started, it’s important to have all the materials you’ll need. Here’s a list of items you should have on hand:
- Cricut Machine
- Acrylic Sheets
- Cutting Mat
- Vinyl or Sticker Paper
- Transfer Tape
- Ruler and Pencil
- Scissors or Paper Trimmer
Preparing the Design
One of the first steps in making acrylic invitations with Cricut is to prepare the design. Here’s what you need to do:
Choose the Right Software
The software you use to create your design will depend on the type of Cricut machine you have. For this article, we’ll be using Cricut Design Space.
This is a free, user-friendly software that makes it easy to create designs for your Cricut projects.
Create the Design
Once you have the software open, you can start creating your design. There are a variety of design elements available in Cricut Design Space, including shapes, images, and text. Use these elements to create a design that’s specific to your event.

Size the Design
Before cutting your design, you’ll want to make sure it’s the right size for your acrylic sheet. Use a ruler and pencil to measure the size of your acrylic sheet and adjust the size of your design in Cricut Design Space accordingly.
Adjust the Cut Settings
Finally, before cutting your design, you’ll want to make sure your Cricut machine is set to cut acrylic.
This will ensure that the machine cuts the acrylic correctly and with the right level of detail. To adjust the cut settings, simply select “Acrylic” from the material list in Cricut Design Space.
Now that your design is prepared and your machine is set up, you’re ready to start cutting your acrylic invitations
Cut the Design
With your design prepared and your machine set up, it’s time to start cutting the acrylic. Here’s what you need to do:
Load the Acrylic Sheet
Start by placing your acrylic sheet on the cutting mat. Make sure the acrylic is centered on the mat and that it’s secure.
Set the Cricut Machine
Next, load your Cricut machine with the cutting mat and acrylic. You can do this by following the instructions in your Cricut manual.
Cut the Design
Once the machine is loaded, you’re ready to start cutting the design. Simply press the “Go” button in Cricut Design Space to start the cutting process. The machine will do the rest, cutting your design into the acrylic sheet.
Remove the Cut Pieces
When the cutting process is complete, remove the cut pieces from the acrylic sheet. Use a pair of scissors or a paper trimmer to carefully cut around the design if needed.
Transfer the Design
With the cut pieces removed from the acrylic sheet, you’re ready to transfer the design to the acrylic. Here’s what you need to do:
Peel the Vinyl or Sticker Paper
Start by peeling the vinyl or sticker paper from its backing. Be careful not to crease or damage the vinyl as you peel it.
Place the Vinyl on Transfer Tape
Next, place the vinyl on the transfer tape. The transfer tape will help you transfer the vinyl to the acrylic sheet without damaging it.
Cut the Transfer Tape
With the vinyl on the transfer tape, use scissors or a paper trimmer to cut the transfer tape around the vinyl.
Remove the Transfer Tape Backing
Next, remove the backing from the transfer tape. Be careful not to touch the adhesive side of the tape.
Apply the Vinyl to the Acrylic Sheet
Finally, apply the vinyl to the acrylic sheet. Start at one end of the vinyl and slowly apply it to the acrylic, smoothing out any air bubbles as you go.
Finishing Touches
With the vinyl or sticker paper transferred to the acrylic sheet, your invitations are almost complete. To finish, you can add any additional details or embellishments to the invitations. This could include ribbon, glitter, or any other decorative elements you choose.

Conclusion
With this comprehensive guide, you now know how to make acrylic invitations with Cricut. By following these steps, you can create custom invitations that are tailored to your specific needs and preferences.
So why wait? Get started on your acrylic invitations today and make your next special event even more special!
Frequently Asked Questions
What type of acrylic sheets should I use for invitations?
The type of acrylic sheets you use for invitations will depend on your personal preference and the style of your event.
Some popular options include clear, frosted, and colored acrylic. It’s important to choose an acrylic that is at least 1/8 inch thick for stability and durability.
Can I use any vinyl or sticker paper for my invitations?
It’s best to use a vinyl or sticker paper that is specifically designed for use with acrylic. This will ensure that the vinyl or sticker paper adheres well to the acrylic and does not peel or lift over time.
What is transfer tape and why is it needed for this project?
Transfer tape is a clear, adhesive material that is used to transfer vinyl or sticker paper to an acrylic sheet. The transfer tape helps to protect the vinyl or sticker paper during the transfer process and makes it easier to apply the vinyl or sticker paper to the acrylic.
Can I add additional elements to the invitations after transferring the vinyl or sticker paper to the acrylic?
Yes, you can add additional elements to the invitations after transferring the vinyl or sticker paper to the acrylic. Some popular options include ribbon, glitter, or other decorative elements that complement the style of your event.
Can I reuse the acrylic sheets for multiple events or are they single-use only?
The acrylic sheets can be reused for multiple events, provided they are stored and cared for properly. To ensure the longevity of the acrylic sheets, store them in a clean, dry place and avoid exposing them to extreme temperatures or direct sunlight.
