
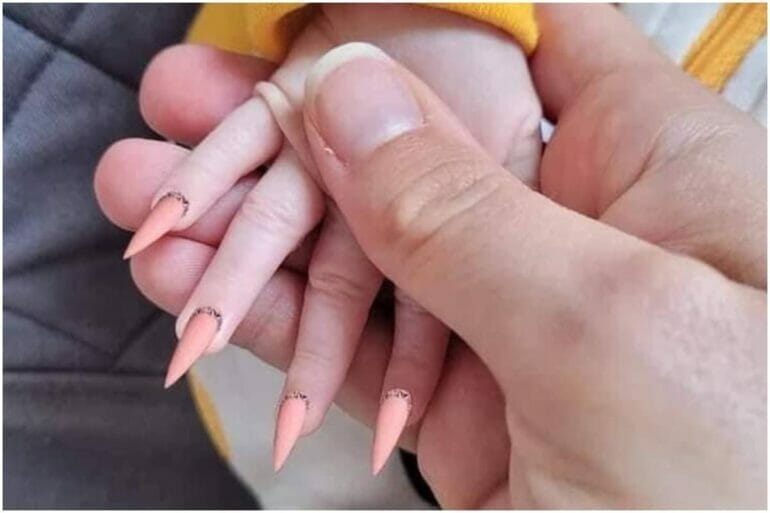
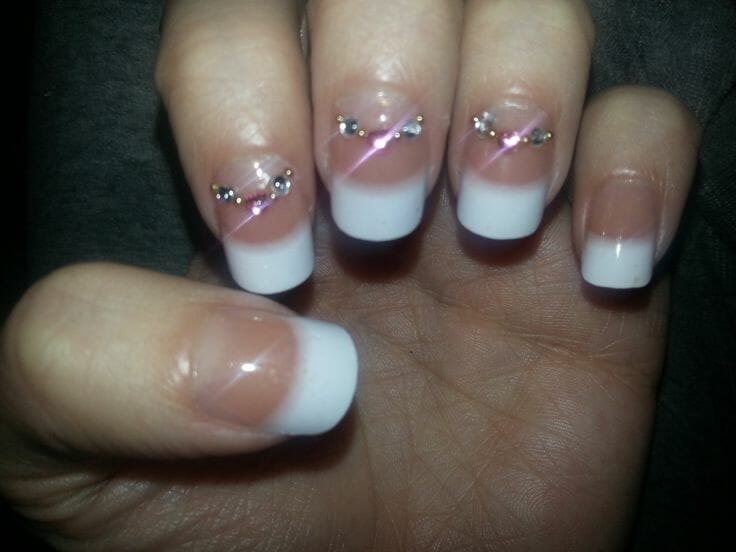
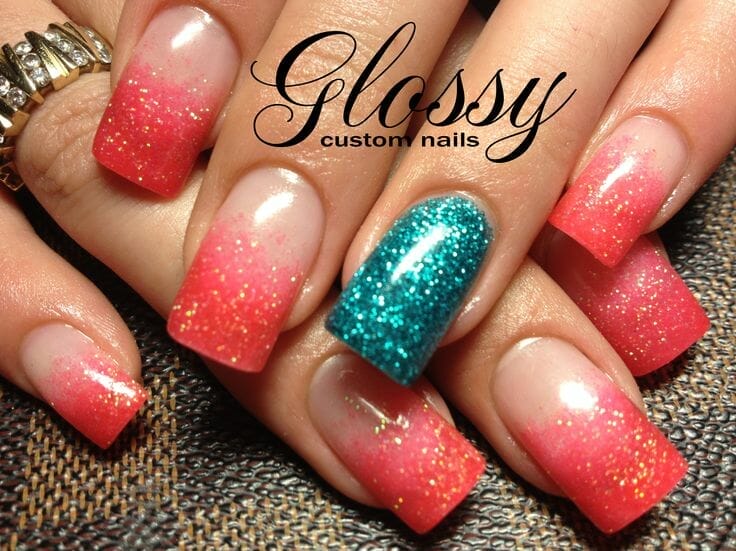
Using a fake finger for acrylic nails is a simple and efficient way to achieve flawless, salon-worthy manicures at home. With the help of a fake finger, you can optimize your nail application technique and create stunning nail designs with ease.
Whether you’re a beginner or a seasoned nail enthusiast, incorporating a fake finger into your acrylic nail routine can yield professional results. It provides a stable surface for precise application, minimizing any potential mistakes or smudges.
By placing the fake finger on your non-dominant hand, you can comfortably hold it still while applying acrylic nails on your dominant hand. This ensures greater control and accuracy, allowing you to create beautiful and long-lasting manicures.
A fake finger is also beneficial for practicing different nail techniques, such as shaping, filing, and painting. It enables you to experiment and perfect your skills without the risk of damaging your natural nails.
Additionally, a fake finger can be a useful tool when working with intricate nail designs, as it allows you to focus on intricate details without any discomfort or difficulty. It provides a stable base for nail art brushes and other nail embellishments, resulting in stunning and precise designs.
Overall, incorporating a fake finger into your acrylic nail routine is a game-changer. It simplifies the process, enhances your precision, and enables you to achieve salon-quality nails from the comfort of your own home.
Choosing the Right Fake Finger for Acrylic Nails
When it comes to getting acrylic nails, one of the most important steps is selecting the right fake finger or nail form. This is crucial as it determines the shape and size of your acrylic nails. In this section, we will discuss the factors you should consider when choosing a fake finger for your acrylic nails.
1. Size and Shape
The first thing to consider is the size and shape of the fake finger. It should be similar to the size and shape of your natural nail bed. If the fake finger is too large or small, it can result in ill-fitting acrylic nails. Take your time to find a fake finger that closely matches your natural nails to ensure a comfortable and natural-looking result.
2. Material
The material of the fake finger is another important consideration. Fake fingers are typically made of either plastic or metal. Plastic fake fingers are lightweight and flexible, making them easy to work with. Metal fake fingers, on the other hand, are more durable and provide better stability. Consider your own preferences and needs when deciding between plastic and metal.
3. Flexibility
Flexibility is an important factor to consider when choosing a fake finger for acrylic nails. The fake finger should be flexible enough to allow for easy shaping and molding of the acrylic nails. Look for a fake finger that is not too rigid or too flimsy. This will make the application process much easier and result in better-looking acrylic nails.
4. Adjustable vs. Non-adjustable
Another option to consider is whether you want an adjustable or non-adjustable fake finger. Adjustable fake fingers have movable parts that allow you to customize the size and shape according to your needs. Non-adjustable fake fingers, on the other hand, come in fixed sizes and shapes. If you are a beginner or unsure about the size and shape you want, an adjustable fake finger may be a better option.
5. Comfort
Lastly, consider the comfort factor when choosing a fake finger for acrylic nails. Since you will be wearing the fake finger for an extended period of time during the application process, it’s important to choose one that feels comfortable on your finger. Look for a fake finger with smooth edges and a comfortable fit to ensure a pleasant experience.
Choosing the right fake finger for your acrylic nails is essential for a successful nail enhancement. By considering the size, shape, material, flexibility, adjustability, and comfort, you can ensure a seamless and comfortable application process, resulting in beautiful and long-lasting acrylic nails.
Step-by-Step Guide to Applying Acrylic Nails with a Fake Finger
Acrylic nails are a popular choice for those who want to enhance the appearance of their natural nails. Whether you are a professional nail technician or just a nail enthusiast, learning how to apply acrylic nails can be a valuable skill. In this guide, we will take you through the step-by-step process of applying acrylic nails using a fake finger.
Materials You Will Need
- Acrylic nail kit (including acrylic powder, liquid monomer, and a nail brush)
- Fake finger or practice hand
- Nail file
- Nail tips
- Nail glue
- Primer
- Cuticle pusher
- Cotton balls
- Acetone
Step 1: Preparation
Start by preparing your fake finger or practice hand. Clean it thoroughly with soap and water to remove any dirt or debris. Dry it completely before starting the application process.
Step 2: Applying Nail Tips
Choose the appropriate size of nail tips for each finger. Apply a small amount of nail glue to the bottom of the tip and press it onto the natural nail. Hold it in place for a few seconds to allow the glue to dry. Trim and shape the tips to your desired length and shape using a nail file.
Step 3: Applying Primer
Using a cotton ball soaked in acetone, cleanse the nail plate of each nail tip to remove any natural oils or residue. Once clean, apply a thin layer of primer to the nail plate. This will ensure better adhesion of the acrylic product.
Step 4: Mixing the Acrylic
Follow the instructions provided with your acrylic nail kit to mix the acrylic powder and liquid monomer. Use a small glass dish or a dappen dish to create the mixture. Dip the nail brush into the liquid monomer, then into the acrylic powder, and mix until a smooth, creamy consistency is achieved.
Step 5: Applying the Acrylic
Dip the brush into the acrylic mixture and pick up a small bead of acrylic. Place the bead of acrylic near the cuticle area, then gently stroke it towards the tip of the nail. Continue this process, working one nail at a time, until all nails are covered with acrylic. Make sure to shape and smooth the acrylic as you go along.
Step 6: Sculpting and Refining
Once the acrylic has dried, use a nail file to shape and refine the nails. Start by filing the sides to create the desired shape, then file the surface to smooth out any imperfections. Be careful not to file too much, as this can weaken the nails.
Step 7: Finishing Touches
Wipe away any dust or debris from filing with a dry, clean cotton ball. Apply a top coat or a clear nail polish to add shine and protect the acrylic nails. Let it dry completely before moving on to the next step.
Step 8: Maintenance Tips
Proper maintenance is key to keeping your acrylic nails looking their best. Avoid using your nails as tools to prevent them from breaking or lifting. Regularly moisturize your cuticles and the skin around your nails to keep them hydrated. If any nails start to lift or break, visit a professional nail technician for repairs.
In summary, applying acrylic nails with a fake finger is a step-by-step process that involves nail preparation, applying nail tips, applying primer, mixing and applying the acrylic, sculpting and refining, and adding the finishing touches. With practice and patience, you can achieve stunning acrylic nails that will enhance your overall look and boost your confidence.
Tips and Tricks for a Perfect Application Using Fake Fingers
When it comes to using fake fingers for various purposes, such as fingerprint recognition, cosmetics, or prosthetics, it’s important to ensure a perfect application for the best results. Whether you’re a makeup artist, a security expert, or simply someone looking to experiment with fake fingers, here are some tips and tricks to help you achieve a flawless application.
1. Choose the Right Size and Material
Before diving into the application process, it’s crucial to choose the right size and material for your fake fingers. Ensure that the fake fingers are of the appropriate size to match your actual finger size or the desired look. Additionally, consider the material of the fake fingers, as it can affect the overall appearance and durability. Common materials include silicone, latex, or even prosthetic-grade materials for more realistic results.
2. Prep and Cleanse Your Fingers
Before applying the fake finger, make sure to prep and cleanse your fingers properly. This step is particularly important if you’re using fake fingers for cosmetics purposes, as any dirt or oil on your fingers can affect the adhesion and overall finish. Use a gentle cleanser to thoroughly clean your fingers and dry them completely to create a clean canvas for application.
3. Use Adhesive or Glue
Depending on the purpose and material of your fake fingers, you may need to use adhesive or glue for a secure application. For prosthetic or cosmetic purposes, special adhesive designed for skin contact is recommended. Apply a thin layer of adhesive or glue to the inner surface of the fake finger, ensuring even coverage. Let it dry for a few seconds to achieve optimal stickiness.
4. Blend with Your Natural Skin Tone
To achieve a seamless and natural look, it’s crucial to blend the fake finger with your natural skin tone. This step is particularly important for cosmetic applications, such as using fake fingers to cover scars or blemishes. Depending on the material of the fake finger, you can use makeup products like foundation, concealer, or powder to match the color and texture of your skin. Apply the products using a brush or sponge and blend it carefully for a flawless finish.
5. Practice Proper Finger Movements
If you’re using fake fingers for fingerprint recognition or prosthetic purposes, it’s essential to practice proper finger movements for a convincing performance. Take the time to understand the range of motion of the fake finger and adjust your movements accordingly. Practice gestures and actions to ensure a natural and seamless integration with your real hand.
6. Maintain and Clean the Fake Fingers
After each use, it’s important to properly maintain and clean your fake fingers. Depending on the material, you may need to wash them with mild soap and warm water or use specific cleaning products. Gently pat them dry with a clean towel and store them in a safe place to prevent damage or contamination.
7. Seek Professional Advice
If you’re new to using fake fingers or require specific guidance, don’t hesitate to seek professional advice. Makeup artists, prosthetic experts, or security specialists can provide valuable insights and tips for a perfect application. They can recommend the best materials, techniques, and products to achieve your desired results.
In summary, using fake fingers for various purposes requires careful consideration and attention to detail. By choosing the right size and material, prepping your fingers properly, using adhesive or glue, blending with your natural skin tone, practicing proper finger movements, maintaining and cleaning the fake fingers, and seeking professional advice when needed, you can ensure a perfect application every time. Whether you’re looking to enhance your makeup skills, improve security measures, or explore prosthetic options, these tips and tricks will help you achieve flawless results.
Removing Acrylic Nails with the Help of a Fake Finger
Acrylic nails can be a great way to have beautiful, long nails, but when it’s time to remove them, it can be a bit challenging. One method that has gained popularity is using a fake finger to safely remove acrylic nails without damaging your natural nails. In this section, we will guide you through the step-by-step process of removing acrylic nails with the help of a fake finger.
Materials Needed
Before getting started, gather the following materials:
- Acetone solution
- Cotton balls or pads
- Aluminum foil
- Orange stick or cuticle pusher
- Emery board or nail file
- Nail buffer
- Moisturizer or cuticle oil
- Fake finger or plastic finger tip
Step 1: Preparation
Begin by preparing your workspace. Place a towel or some paper towels on the surface to protect it from spills. Make sure you have good ventilation as the acetone solution can have a strong smell.
Step 2: Filing
Using an emery board or nail file, gently file the surface of your acrylic nails. This will help break the seal between the acrylic and your natural nails, making the removal process easier.
Step 3: Soaking
Next, soak a cotton ball or pad in acetone solution and place it on top of your acrylic nail. Wrap aluminum foil around the cotton ball to secure it in place. Repeat this process for each nail.
If you’re using a fake finger, apply acetone solution to the inside of the finger or plastic tip. Slide your finger or nail into the fake finger, making sure it fits snugly.
Step 4: Waiting
Allow your nails to soak in the acetone solution for about 15-20 minutes. This will soften the acrylic, making it easier to remove.
Step 5: Removal
After the soaking period, carefully remove the aluminum foil and cotton ball from one finger. Gently push the softened acrylic off using an orange stick or cuticle pusher. Be cautious not to force or pry the acrylic, as this can damage your natural nails.
If using a fake finger, simply remove your finger from the fake finger, and the acrylic nail should come off easily.
Step 6: Finishing
Once all the acrylic nails are removed, use a nail buffer to smooth out any rough edges or residue. Wash your hands with mild soap and water to remove any remaining acetone solution.
Apply a moisturizer or cuticle oil to restore moisture to your nails and cuticles, as acetone can be drying.
Summary
Removing acrylic nails can be a tricky process, but using a fake finger can make it easier and safer. By following the steps outlined in this section, you can successfully remove your acrylic nails without causing damage to your natural nails. Remember to take your time and be gentle during the removal process to achieve the best results.
FAQs
How to use a fake finger for acrylic nails?
To use a fake finger for acrylic nails, first clean and dry your natural nails. Then, apply nail glue to the fake finger and press it firmly onto your natural nail. Next, shape and trim the fake nail to your desired length. Finally, apply acrylic liquid and powder to create the acrylic overlay, following the instructions provided with the product.
Conclusion:
In conclusion, using a fake finger for acrylic nails can be a game-changer in achieving flawless and long-lasting manicures. By providing a stable surface to work on, the fake finger makes it easier to apply and shape the acrylics with precision. Additionally, it helps in avoiding smudging or damaging wet nails while they are drying. Whether you are a professional nail technician or a DIY enthusiast, this innovative tool can greatly enhance your nail art skills and productivity. So, say goodbye to messy mishaps and hello to professional-looking acrylic nails by incorporating a fake finger into your nail care routine.
Get ready to take your nail game to the next level with this handy accessory. Happy nail sculpting!