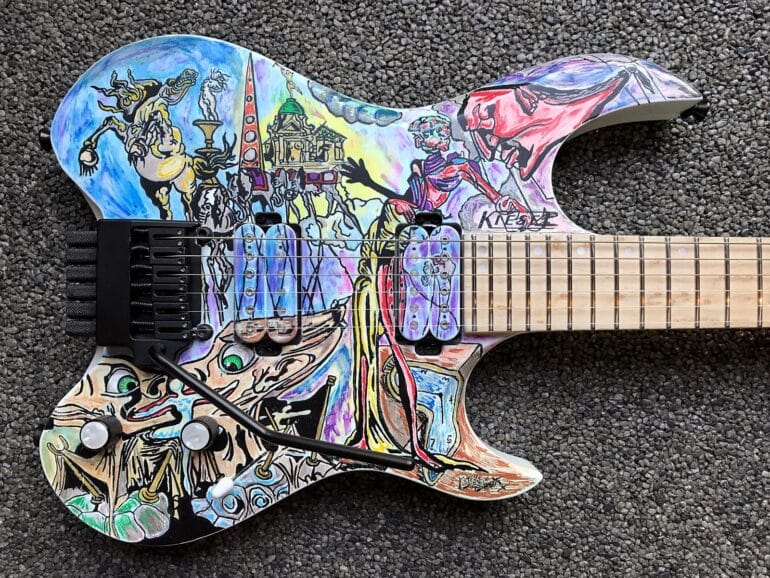
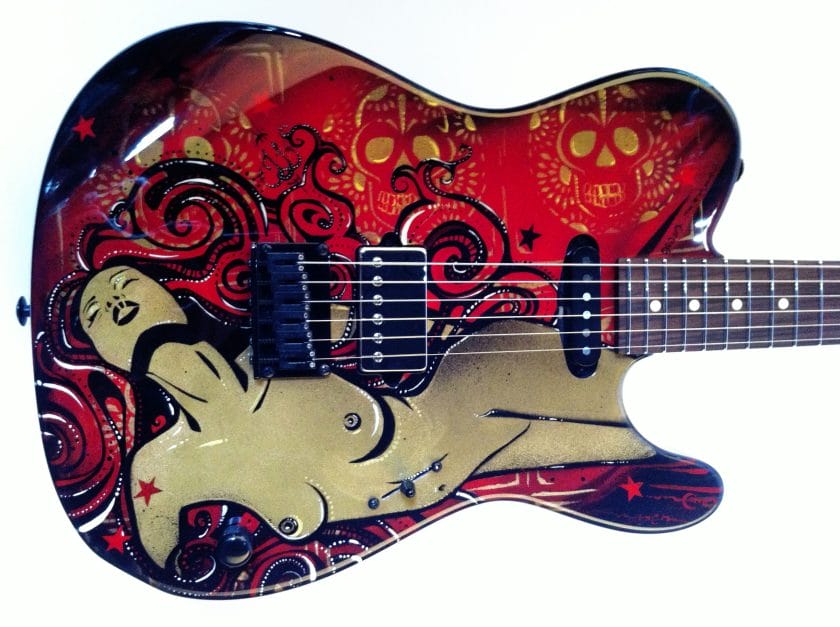
Painting an electric guitar can transform it into a unique masterpiece that reflects your personal style and creativity. Whether you want to give your guitar a fresh new look or customize it to match your preferences, painting it can be a fun and rewarding project.
Before you begin, it’s important to gather all the necessary materials, such as sandpaper, primer, paint, clear coat, and masking tape. Prepare the guitar by removing any hardware and giving it a thorough clean.
Next, lightly sand the body of the guitar to create a smooth surface for the paint to adhere to. Apply a coat of primer to ensure better paint adhesion and durability. Once the primer is dry, you can start applying the paint color of your choice.
Using even strokes, apply thin coats of paint, allowing each coat to dry before applying the next. This will prevent the paint from running or forming clumps. Once you’re satisfied with the color, apply a clear coat to protect the paint and give it a glossy finish.
Remember to follow proper safety precautions and work in a well-ventilated area. With patience and attention to detail, you can successfully paint your electric guitar and create a stunning instrument that reflects your artistic vision.

Step-by-step guide to preparing an electric guitar for painting
Painting an electric guitar can be a fun and creative way to customize your instrument and give it a unique look. However, before you start painting, it’s important to properly prepare the guitar surface to ensure a smooth and professional finish. Follow this step-by-step guide to prepare your electric guitar for painting:
1. Gather the necessary materials
Before you begin, make sure you have all the necessary materials on hand. This includes sandpaper (in various grits), masking tape, plastic sheeting, a clean cloth, a degreaser, and a primer suitable for the guitar surface.
2. Remove all hardware
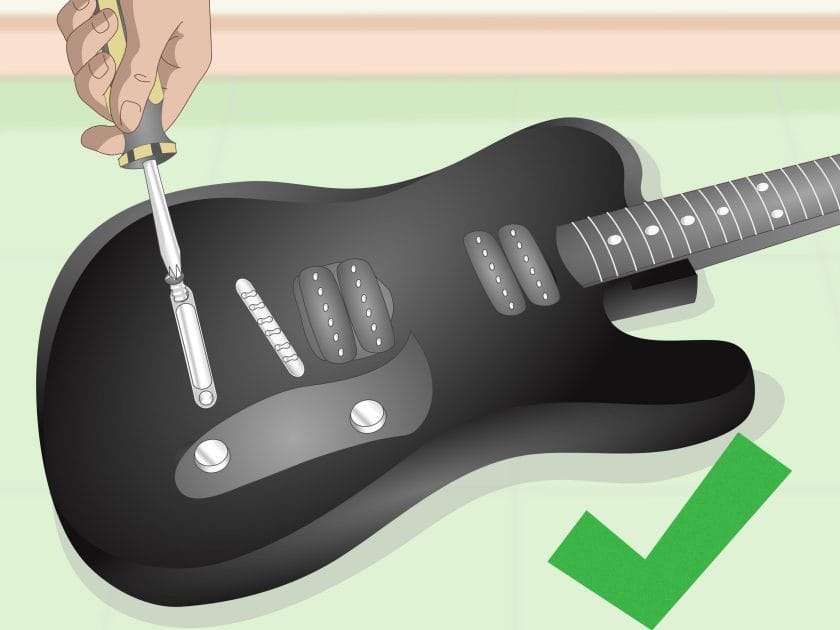
Start by removing all the hardware from your electric guitar, including the strings, pickups, pickguard, knobs, and any other removable parts. This will make it easier to work on the guitar body without any obstacles.
3. Clean the guitar body
Using a clean cloth and a suitable degreaser, thoroughly clean the guitar body to remove any dirt, oils, or residues. This will ensure that the paint adheres properly to the surface. Pay extra attention to areas around the neck joint and bridge, as these tend to accumulate more grime.
4. Sand the guitar body
Using sandpaper with a medium grit (around 120-180), gently sand the entire surface of the guitar body. This will roughen up the surface and help the primer adhere better. Make sure to sand evenly and avoid applying too much pressure, as this can damage the wood or finish.
5. Smooth out imperfections
If there are any scratches, dents, or uneven areas on the guitar body, now is the time to address them. Use finer grit sandpaper (around 220-320) to smooth out these imperfections. Be patient and take your time to ensure a smooth and even surface.
6. Mask off areas
Before applying the primer and paint, carefully mask off any areas that you don’t want to be painted. This includes the guitar neck, pickups, and any other parts that should remain unpainted. Use masking tape and plastic sheeting to protect these areas.
7. Apply primer
Now it’s time to apply the primer. Choose a primer specifically designed for guitars, as it will provide a suitable base for the paint and help improve adhesion. Apply the primer in thin and even coats, allowing each coat to dry before applying the next. Follow the manufacturer’s instructions for drying times.
8. Sand the primer
Once the primer has dried completely, use fine grit sandpaper (around 320-400) to lightly sand the entire surface. This will create a smooth and even surface for the paint. Make sure to remove any dust or debris before proceeding to the next step.
9. Apply the paint
Finally, it’s time to apply the paint. Choose a high-quality paint suitable for guitars and apply it in thin and even coats. Allow each coat to dry completely before applying the next. Depending on the type of paint you’re using, you may need to apply multiple coats to achieve the desired coverage and color.
10. Finish with a clear coat
Once the paint has dried, finish off your painted electric guitar with a clear coat. This will protect the paint and give it a glossy finish. Apply the clear coat in thin and even coats, allowing each coat to dry before applying the next.
Following these step-by-step instructions will help you prepare your electric guitar for painting and achieve a professional-looking finish. Remember to work in a well-ventilated area and take necessary safety precautions when working with paints and chemicals. With patience and attention to detail, you can create a beautifully customized electric guitar that reflects your personal style.

Techniques for Achieving a Flawless Paint Finish on an Electric Guitar
When it comes to customizing an electric guitar, achieving a flawless and professional-looking paint finish can make all the difference. Whether you’re a seasoned guitar enthusiast or a novice looking to try your hand at guitar refinishing, following the right techniques is crucial to ensure a successful outcome. In this section, we will explore some tried-and-tested methods for achieving a flawless paint finish on an electric guitar.
Selecting the Right Paint
The first step in achieving a flawless paint finish is selecting the right paint for your guitar. There are various options available, including nitrocellulose lacquer, polyurethane, and acrylic enamel. Each type of paint has its own advantages and application techniques, so it’s important to choose one that suits your preferences and skill level. Consider factors such as durability, ease of application, and the final look you want to achieve.
Before starting the painting process, it’s essential to prepare your guitar’s surface properly. This involves sanding the existing finish or bare wood until it is smooth and free of imperfections. Use sandpaper of gradually finer grits to achieve a smooth surface, and make sure to remove any dust or debris from the guitar before applying the paint.
Priming the Surface
Priming the guitar’s surface is an essential step that helps the paint adhere better and provides a smooth base for the color coats. Choose a primer specifically designed for guitars and apply it evenly using a spray gun or brush. Make sure to follow the manufacturer’s instructions for the recommended drying time between coats. Sand the primed surface lightly with fine-grit sandpaper to remove any imperfections before proceeding to the next step.
Applying the Color Coat
Once the primer is dry and the surface is smooth, it’s time to apply the color coat. This is where you can let your creativity shine by choosing the color or finish that best suits your style. Using a spray gun is the most common and efficient method for applying the color coat, ensuring an even and professional-looking finish. Apply multiple thin coats rather than a single heavy coat to avoid runs or drips. Allow each coat to dry before applying the next one, and sand lightly between coats for a smoother finish.
Clear Coating and Finishing
After applying the color coat, it’s essential to protect it with a clear coat for added durability and a glossy finish. Clear coats can be applied using the same techniques as the color coat, with multiple thin coats being the key to achieving a flawless result. Allow the clear coat to cure fully according to the manufacturer’s instructions before proceeding to the final step.
Once the clear coat is dry, sand it lightly with fine-grit sandpaper to remove any imperfections and create a smooth surface. Finish off by buffing and polishing the surface using a guitar polishing compound and a clean cloth. This will enhance the glossiness of the finish and give your guitar a professional look.
In summary, achieving a flawless paint finish on an electric guitar requires careful preparation, the right choice of paint, and proper application techniques. By following these steps and paying attention to detail, you can transform your guitar into a personalized masterpiece that looks and feels like it came straight from the factory.

Custom designs and patterns for painting an electric guitar
When it comes to guitars, the design is just as important as the sound. A guitar with a visually appealing custom design not only reflects the personality and style of the musician but also makes a statement on stage. One popular way to achieve a unique and personalized look for an electric guitar is through custom painting. In this section, we will explore different design ideas, techniques, and patterns for painting an electric guitar.
1. Choosing the design
The first step in creating a custom design for your electric guitar is to decide on the overall concept or theme. This could be anything from a classic vintage look to a modern and abstract design. Some popular design ideas for electric guitars include:
- Abstract patterns: Create a visually striking design using geometric shapes, lines, or splashes of color.
- Nature-inspired designs: Incorporate elements of nature such as landscapes, floral patterns, or animal prints.
- Tribal or ethnic designs: Draw inspiration from tribal art, intricate patterns, or symbols from different cultures.
- Custom logos or graphics: Add your band logo, personal artwork, or favorite symbols to make a statement.
- Vintage or retro designs: Give your guitar a nostalgic feel with retro patterns, aged finishes, or vintage-inspired colors.
2. Preparing the guitar
Before you start painting, it is important to properly prepare your guitar to ensure a smooth and durable finish. Follow these steps:
- Remove all hardware: Take off the strings, pickups, knobs, and any other removable parts.
- Sand the surface: Gently sand the body of the guitar to create a rough texture that allows the paint to adhere better.
- Prime the guitar: Apply a coat of primer to create a smooth surface and enhance the adhesion of the paint.
- Mask any areas you want to protect: Use masking tape to cover parts of the guitar that you want to keep unpainted.
3. Painting techniques
There are several painting techniques you can use to achieve different effects on your electric guitar:
- Solid color: Apply a single color all over the body of the guitar for a clean and simple look.
- Gradient or fade: Create a smooth transition between two or more colors by blending them together.
- Airbrushing: Use an airbrush to create intricate designs, blends, or gradients with fine control.
- Stenciling: Use stencils to add patterns, shapes, or symbols to your guitar.
- Hand-painting: Let your creativity flow and paint freehand, creating unique patterns or illustrations.
4. Applying the finish
Once you have completed the painting process, it is important to protect the design and ensure its longevity by applying a clear finish. This will also give the guitar a smooth and glossy appearance. There are various finish options available, such as:
- Gloss finish: Provides a shiny and reflective surface.
- Satin finish: Offers a smooth and slightly matte appearance.
- Matte finish: Gives a non-reflective, velvety surface.
- Clear coat: Protects the paint job without altering the appearance.
5. Customizing further
Once the painting and finishing are complete, you can further customize your electric guitar by adding additional details or accessories. Consider options like:
- Adding decals or stickers
- Installing new pickups or hardware
- Applying a pickguard
- Adding LED lights or glow-in-the-dark materials
- Customizing the knobs, switches, or control plates
In summary, painting an electric guitar with a custom design is a fantastic way to showcase your personality and creativity. Whether you choose a bold abstract pattern or a vintage-inspired look, the possibilities are endless. Just remember to properly prepare the guitar, use the right painting techniques, and finish off with a protective clear coat. With some creativity and imagination, you can transform your electric guitar into a unique and eye-catching instrument that truly reflects your own style.
Tips for adding a glossy or matte finish to a painted electric guitar
If you’re a guitar enthusiast, you may have considered customizing your electric guitar by adding a glossy or matte finish to the body. A glossy or matte finish can not only enhance the appearance of your instrument but also provide a layer of protection for the paint job. In this section, we will discuss some tips and techniques for achieving a professional glossy or matte finish on a painted electric guitar.
1. Prepare the surface
Before applying any finish, it is important to properly prepare the surface of the guitar. Start by sanding the body using sandpaper with a medium grit to remove any imperfections or rough spots. This will help create a smooth and even surface for the finish.
After sanding, clean the surface of the guitar with a damp cloth to remove any dust or debris. Ensure that the body is completely dry before proceeding to the next step.
2. Choose the right finish
There are different types of finishes available for electric guitars, including glossy and matte finishes. Consider the look you want to achieve and select the appropriate finish accordingly.
Glossy finishes provide a shiny, reflective surface that is popular for its sleek and polished appearance. On the other hand, matte finishes offer a more subdued, satin-like appearance that can give your guitar a unique and vintage look.
It is important to choose a high-quality finish that is specifically designed for musical instruments. This will ensure durability and longevity.
3. Apply the finish
When applying the finish, it is crucial to follow the manufacturer’s instructions and work in a well-ventilated area. Wear protective gloves and a mask to avoid any inhalation of harmful fumes.
If you’re applying a glossy finish, start by applying a thin coat using a brush or spray gun. Allow the coat to dry completely before applying subsequent coats. Repeat this process until you achieve the desired level of glossiness.
For a matte finish, you can use a similar process, but instead of a glossy clear coat, use a matte clear coat. Apply thin coats and allow each coat to dry before adding additional coats. This will help achieve a smooth and even matte finish.
4. Sand and buff
Once the final coat of finish has dried, you can further enhance the smoothness and shine by sanding and buffing the surface. Use a fine-grit sandpaper to gently sand the finish, focusing on any imperfections or rough areas.
After sanding, use a polishing compound and a soft cloth to buff the surface of the guitar. This will help bring out the shine and create a smooth, polished finish.
5. Final touches
After achieving the desired finish, take some time to inspect the guitar for any areas that may require touch-ups. Use a touch-up brush or a small applicator to fix any imperfections or blemishes.
Additionally, consider adding a protective wax or polish to further protect the finish and enhance its longevity. This will help keep your guitar looking great for years to come.
In summary, adding a glossy or matte finish to a painted electric guitar can be a rewarding project for any guitar enthusiast. By following these tips and techniques, you can achieve a professional-looking finish that not only enhances the appearance of your instrument but also provides protection for the paint job. Remember to properly prepare the surface, choose the right finish, apply it carefully, sand and buff for a smooth finish, and add any final touches as needed. With some patience and attention to detail, you can transform your electric guitar into a personalized work of art.
Frequently Asked Questions
1. How do I paint an electric guitar?
To paint an electric guitar, start by disassembling the guitar and sanding down the existing finish. Apply a primer to ensure good adhesion, then choose your desired color and apply several thin coats of paint, allowing each coat to dry before applying the next. Finish with a clear coat for protection. Finally, reassemble the guitar after the paint has fully cured.
2. What type of paint should I use to paint an electric guitar?
For painting an electric guitar, it is recommended to use spray paint or nitrocellulose lacquer. These types of paint provide a durable finish and can be easily applied for an even coat. Make sure to choose a paint specifically formulated for use on musical instruments.
3. Can I paint an electric guitar without removing the existing finish?
While it is possible to paint an electric guitar without removing the existing finish, it is generally not recommended. Without proper preparation, the new paint may not adhere well and the final result may not be satisfactory. It is best to remove the existing finish and start with a clean surface for the best paint job.
Conclusion
In conclusion, painting an electric guitar can be a rewarding and creative way to customize your instrument. By following the proper steps, such as preparing the surface, applying primer, and using high-quality paint, you can achieve a professional-looking finish. Additionally, experimenting with different colors and techniques can make your guitar stand out and reflect your personal style. Remember to take your time and be patient throughout the process to ensure the best results. So go ahead, unleash your creativity, and give your electric guitar a fresh new look that will impress both your audience and yourself.
