
Looking to seal your acrylic paint on nails? We’ve got you covered! Sealing your acrylic paint manicure is crucial for long-lasting and vibrant results. Whether you’re a nail art enthusiast or just want to elevate your manicure game, using a sealant will provide protection and durability.
There are different methods to seal acrylic paint on nails. One popular choice is to apply a clear topcoat specifically designed for nail art. This will not only seal in the paint but also add a glossy finish to your nails. Another option is to cure the acrylic paint with a UV or LED lamp to ensure a strong bond.
Before applying the sealant, make sure your acrylic paint is completely dry. You can speed up the drying process by using a fan or blow dryer on a low setting. Once dry, apply a thin layer of sealant evenly over the painted nails, making sure to cover the entire surface. Avoid applying too much product to prevent smudging or pooling.
Allow the sealant to dry completely. Depending on the type of sealant used, this may take a few minutes to a few hours. Once dry, your nails will be protected from chipping and fading, ensuring your acrylic paint design stays vibrant and beautiful for days to come.
Remember to take proper care of your nails after sealing. Avoid exposing them to harsh chemicals or excessive water, as this can compromise the sealant. Additionally, consider
Protecting Your Nail Masterpiece: How to Seal Acrylic Paint on Nails
Creating a stunning nail design with acrylic paint is a great way to express your creativity and style. However, to ensure that your masterpiece lasts and remains vibrant, it is essential to seal the acrylic paint properly. In this section, we will guide you through the process of sealing acrylic paint on nails, so you can enjoy your beautiful nail art for longer.
1. Gather the Necessary Materials
Before you begin sealing your acrylic paint on nails, make sure you have all the necessary materials. This includes:
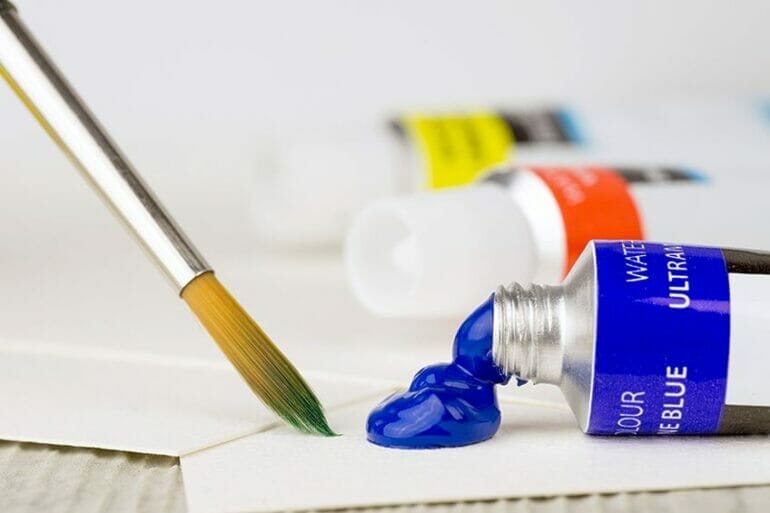
- Acrylic nail paint
- Clear topcoat (preferably a high-quality, quick-drying formula)
- Nail polish remover
- Cotton pads or balls
- Small brush or dotting tool
2. Prepare Your Nails
Start by preparing your nails for the sealing process. Firstly, remove any existing nail polish using a nail polish remover and cotton pads or balls. Next, trim and shape your nails to your desired length and style. Once your nails are clean and ready, you can move on to the next step.
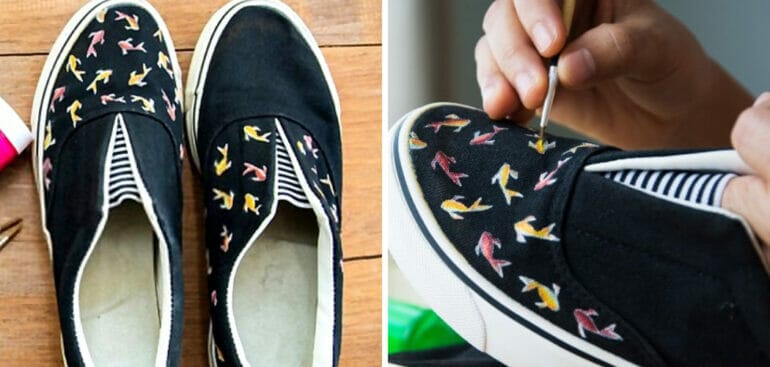
3. Apply Acrylic Paint
Using a small brush or dotting tool, carefully apply the acrylic paint to your nails. Let your creativity shine as you design and paint your desired patterns or images. Allow the paint to dry completely before proceeding to the next step. This will ensure that the paint adheres well and prevents smudging or smearing during the sealing process.
4. Select a Clear Topcoat
Choosing the right clear topcoat is crucial for sealing the acrylic paint on your nails. Opt for a high-quality, quick-drying topcoat that is specifically formulated for nail art. This will provide a protective layer and enhance the longevity of your nail design.
5. Apply the Topcoat
Once your acrylic paint is dry, it’s time to apply the topcoat. Start by applying a thin layer of topcoat over your painted nails. Ensure that you cover the entire painted surface evenly. Avoid applying excessive pressure or multiple strokes, as this may cause the paint to smudge or mix with the topcoat.
Allow the first layer of topcoat to dry completely before applying a second layer. This will provide added protection and a smooth, glossy finish. Remember to be patient and let each layer dry thoroughly to prevent any mishaps.
6. Seal the Edges
To further protect your acrylic paint on nails, it’s crucial to seal the edges. Take your brush or dotting tool and carefully apply a thin layer of topcoat around the edges of your nails. This will create a seal and prevent chipping or peeling of the paint.
7. Allow for Sufficient Drying Time
After applying the topcoat and sealing the edges, allow your nails to dry completely. This may take a few minutes or longer, depending on the brand and formula of the topcoat. Avoid any activities that may cause accidental damage to your freshly painted nails during this drying period.
8. Maintain Your Nail Art
To ensure the longevity of your acrylic paint on nails, it’s essential to take proper care of them. Avoid exposing your nails to excessive moisture, harsh chemicals, or rough surfaces, as these can cause the paint to chip or fade. Additionally, regularly moisturize your hands and nails to keep them healthy and prevent dryness.
By following these steps and taking proper care of your nails, you can seal and protect your acrylic paint and enjoy your nail masterpiece for an extended period.
Achieve Nail Perfection: The Ultimate Guide to Sealing Acrylic Paint on Nails
Are you tired of your nail art chipping and peeling after just a few days? Do you want your stunning designs to last longer and stay flawless? Look no further! In this guide, we will take you through the steps to achieve nail perfection by sealing acrylic paint on your nails, ensuring that your manicure stays vibrant and intact for an extended period.
Why Seal Acrylic Paint on Nails?
Before we dive into the process, let’s understand why sealing acrylic paint on nails is essential. Acrylic paint, although versatile and vibrant, is prone to chipping and fading when exposed to everyday tasks, such as washing dishes, typing on a keyboard, or even just regular wear and tear. By sealing the acrylic paint, you create a protective barrier that shields the design, making it last longer and maintaining its original beauty.
Materials You Will Need
Before you begin, gather the following materials:
- Acrylic paint in your desired colors
- Base coat
- Top coat
- Nail polish remover
- Clean nail brush
- Nail file
- Cotton pads
- Small paintbrushes or dotting tools
- Sealing gel or UV gel top coat (optional)
Step-by-Step Guide to Sealing Acrylic Paint on Nails
Now let’s get into the step-by-step process of sealing acrylic paint on your nails:
Step 1: Prepare Your Nails
Start by removing any existing nail polish using nail polish remover. Use a clean nail brush to gently clean your nails and remove any dirt or oil. Then, shape your nails using a nail file to achieve your desired length and shape.
Step 2: Apply Base Coat
Apply a thin layer of base coat to your nails. The base coat acts as a foundation for the acrylic paint and helps it adhere better to the nails. Allow the base coat to dry completely before moving on to the next step.
Step 3: Create Your Acrylic Paint Design
Now it’s time to unleash your creativity! Use small paintbrushes or dotting tools to create your desired design using acrylic paint. Whether it’s intricate patterns, floral designs, or simple geometric shapes, let your imagination run wild.
Step 4: Allow the Acrylic Paint to Dry
Patience is key in this step. Allow the acrylic paint to dry completely before applying the top coat. This will prevent any smudging or smearing of your beautiful design.
Step 5: Apply Top Coat
Once the acrylic paint is dry, carefully apply a layer of top coat over the entire nail, ensuring you cover the entire design. The top coat adds an extra layer of protection to seal in the acrylic paint and prevent it from chipping or fading.
Step 6: Optional: Seal with Sealing Gel or UV Gel Top Coat
If you really want to amp up the longevity of your nail art, consider sealing it with a sealing gel or UV gel top coat. These products provide an even stronger protective barrier, making your design last even longer.
In Summary
By following these steps and sealing acrylic paint on your nails, you can achieve nail perfection and enjoy long-lasting, flawless nail art. Remember to be patient, allow ample drying time, and unleash your creativity. With the right techniques and materials, your manicure will be the envy of all!
Seal the Deal: Steps to Successfully Seal Acrylic Paint on Nails
In this section, we will discuss the step-by-step process of sealing acrylic paint on nails. Acrylic paint is a popular choice for nail art due to its vibrant colors and long-lasting finish. However, to ensure that your nail art lasts as long as possible, it is crucial to properly seal the acrylic paint. Follow these steps to achieve a beautiful and durable manicure.
Step 1: Prepare your nails
Before applying acrylic paint and sealing it, it is essential to properly prepare your nails. Start by removing any old nail polish and trimming your nails to the desired length. Gently push back your cuticles and file the surface of your nails to create a smooth canvas for the paint.
Step 2: Apply a base coat
To protect your natural nails and create a smooth base for the acrylic paint, apply a thin layer of base coat. This will also help the paint adhere better and prevent staining. Allow the base coat to dry completely before moving on to the next step.
Step 3: Paint your nails with acrylic paint
Now it’s time to unleash your creativity and paint your nails with acrylic paint. Use a fine brush or a nail art pen to create intricate designs or simply paint the entire nail with your chosen colors. Take your time and let each layer dry before applying the next one to avoid smudging or streaking.
Step 4: Seal the acrylic paint with a top coat
Once you are satisfied with your nail art design, it’s time to seal the acrylic paint. Apply a generous layer of top coat over the painted nails, making sure to cover the entire surface. The top coat will not only protect the paint from chipping and fading but also give your nails a glossy finish.
Step 5: Cure or air dry
Depending on the type of top coat you are using, you may need to cure it under a UV or LED lamp. Follow the instructions provided with the top coat to ensure proper curing. If you are using an air-drying top coat, allow your nails to dry naturally for the recommended amount of time.
Step 6: Apply additional layers (optional)
If you want to further enhance the durability of your nail art, you can apply additional layers of top coat. This will provide an extra protective barrier and extend the life of your manicure. Make sure to let each layer dry before applying the next one.
Step 7: Maintain and touch up
To make your nail art last even longer, it’s essential to maintain and regularly touch up your nails. Avoid using harsh chemicals or exposing your nails to excessive moisture. Whenever you notice any chips or signs of wear, simply apply a fresh coat of top coat to the affected area to restore the look of your manicure.
Summary
Sealing acrylic paint on nails is a crucial step to ensure the longevity of your nail art. By following these steps – preparing your nails, applying a base coat, painting with acrylic paint, sealing with a top coat, curing or air drying, applying additional layers if desired, and maintaining and touching up – you can achieve a beautiful and long-lasting manicure. Enjoy your stunning nail art and show off your creative side!
Pro Tips for Sealing Acrylic Paint on Nails: Enhance Durability and Glossiness
Acrylic paint is a popular choice for creating stunning nail art designs. Its vibrant colors and versatility make it a preferred medium for nail enthusiasts. However, to ensure that your acrylic paint designs last longer and maintain their glossy finish, it is essential to seal them properly. In this section, we will explore some pro tips for sealing acrylic paint on nails to enhance durability and glossiness.
1. Use a High-Quality Top Coat
The key to sealing acrylic paint on nails lies in the quality of the top coat you choose. Invest in a high-quality top coat specifically designed for nail art. Look for one that is known for its long-lasting formula and high-gloss finish. Applying a top coat not only seals the acrylic paint but also adds an extra layer of protection against chipping and fading.
2. Apply Thin Coats
When applying the top coat, it’s important to use thin coats. Thick coats can cause the acrylic paint to smudge or lose its vibrant color. Thin coats ensure an even application and prevent any streaks or bubbles from appearing on the nails. Allow each coat to dry thoroughly before applying the next layer.
3. Seal the Edges
Pay special attention to sealing the edges of the nails. This is where acrylic paint is most susceptible to chipping. Run the brush along the edge of the nail to create a smooth seal. This step helps to enhance the longevity of your nail art design.
4. Cure the Top Coat
If you’re using a gel top coat, make sure to cure it under a UV or LED lamp according to the manufacturer’s instructions. Curing helps to harden the top coat and create a strong seal. This step is particularly important for gel-based acrylic paints.
5. Prioritize Nail Care
Proper nail care is essential for maintaining the durability and glossiness of your acrylic paint designs. Avoid exposing your nails to excessive moisture, harsh chemicals, or rough surfaces. Wear gloves while doing household chores or engaging in activities that may cause damage to your nails. Regularly moisturize your nails and cuticles to prevent them from becoming dry and brittle.
By following these pro tips for sealing acrylic paint on nails, you can enhance the longevity and glossiness of your nail art designs. Remember to choose a high-quality top coat, apply thin coats, seal the edges, cure the top coat if needed, and prioritize nail care. With proper sealing and maintenance, your acrylic paint designs will stay vibrant and beautiful for longer periods.
FAQs
1. How can I seal acrylic paint on my nails?
To seal acrylic paint on your nails, apply a clear top coat specifically designed for nail art or use a gel top coat. Ensure that the paint is completely dry before applying the top coat. This will protect the paint and provide a glossy finish.
2. Can I use regular top coat to seal acrylic paint on nails?
Using a regular top coat may not provide the best results for sealing acrylic paint on nails. It is recommended to use a top coat specifically formulated for nail art or a gel top coat, as they are designed to adhere well to acrylic paint and provide a long-lasting finish.
3. How long does the seal last on acrylic paint nails?
The durability of the seal on acrylic paint nails will vary depending on factors such as the quality of the products used and individual lifestyle. With proper application and care, the seal can last for up to two weeks or longer.
Conclusion
In conclusion, sealing acrylic paint on nails is an important step to ensure long-lasting and professional-looking manicures. By applying a clear top coat or a specialized nail sealant, you can protect your colorful designs and prevent chipping or peeling. Remember to let each layer dry thoroughly before proceeding with the sealing process to achieve the best results. Additionally, don’t forget to take proper care of your nails by avoiding harsh chemicals and using gloves when necessary. With the right technique and products, you can enjoy vibrant and beautiful painted nails for an extended period of time.