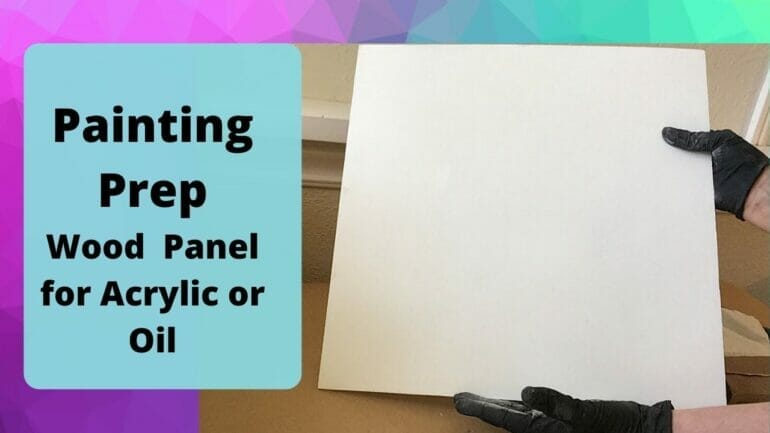
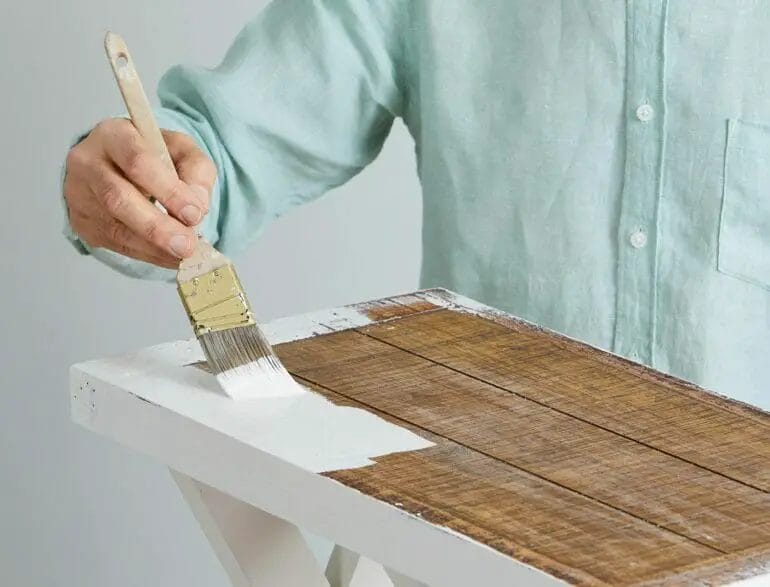
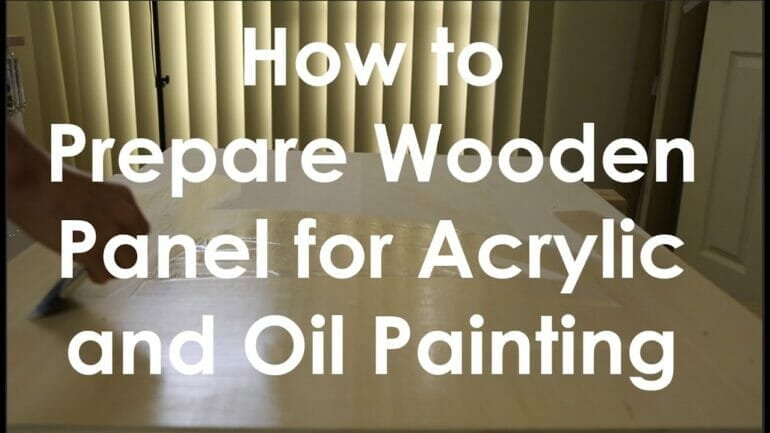
Preparing wood for acrylic paint is crucial to achieve a professional and long-lasting finish. Before you begin, it is important to ensure that the wood surface is clean, smooth, and free from any dirt or debris. Start by sanding the wood using fine-grit sandpaper to smooth out any imperfections and create a suitable surface for the paint to adhere to. Next, apply a primer to seal the wood and create an even base for the paint. Finally, you are ready to apply your acrylic paint, allowing it to dry completely between coats for a flawless finish.

Priming Wood: The Importance of Using a Primer Before Painting
When it comes to painting wood surfaces, many people often overlook the crucial step of priming. Priming wood before painting is an essential process that should not be ignored. It helps to prepare the surface, improve paint adhesion, and enhance the overall longevity of the painted finish. In this section, we will explore the importance of using a primer before painting wood and the benefits it offers.
1. Enhances Paint Adhesion
Priming wood surfaces before painting helps to improve paint adhesion. Wood, being a porous material, tends to absorb paint unevenly, leading to an inconsistent finish. The primer acts as a bonding agent between the wood and paint, creating a smooth and stable surface for the paint to adhere to. This ensures better coverage and reduces the risk of paint peeling or chipping over time.
2. Seals and Protects the Wood
A primer acts as a sealant for wood surfaces, preventing the paint from seeping into the wood fibers. This helps to protect the wood from moisture, which can cause swelling, warping, and rotting. By sealing the wood, the primer creates a barrier that prevents moisture penetration and extends the lifespan of the wood.
3. Blocks Stains and Knots
Unfinished wood surfaces, especially those with knots or stains, can pose a challenge when it comes to achieving a smooth and uniform paint finish. Stains or tannins present in the wood can bleed through the paint, causing discoloration and ruining the aesthetic appeal. By using a primer, you can effectively block these stains and knots, ensuring a clean and flawless paint finish.
4. Fills Imperfections and Smoothes the Surface
Wood surfaces often have imperfections such as cracks, holes, or rough spots. The application of primer helps to fill in these imperfections and create a smoother surface for painting. This not only enhances the overall appearance of the painted finish but also allows for easier application of the paint, resulting in a more professional-looking outcome.
5. Improves Paint Coverage and Efficiency
Using a primer before painting wood surfaces can help to improve paint coverage and efficiency. Primers are usually formulated to provide a solid base for paint, allowing for better color saturation and reducing the number of paint coats required. This not only saves time and money but also ensures a more vibrant and long-lasting paint finish.
6. Enhanced Durability and Longevity
Priming wood before painting significantly increases the durability and longevity of the painted surface. The primer forms a strong bond with the wood, creating a protective layer that helps to resist environmental factors such as UV rays, moisture, and temperature changes. This helps to prevent premature paint deterioration, fading, and peeling, ensuring that your painted wood surfaces stay looking fresh and vibrant for years to come.
Summary
Priming wood surfaces before painting is a crucial step in the painting process. It enhances paint adhesion, seals and protects the wood, blocks stains and knots, fills imperfections, improves paint coverage and efficiency, and enhances durability and longevity. By taking the time to properly prime your wood surfaces, you can ensure a smoother application, better paint adhesion, and a longer-lasting finish. Don’t skip this important step – prime your wood before painting for the best results.

Filling Wood Imperfections: Tips for Repairing Cracks and Holes
Wood is a timeless and versatile material that adds warmth and character to any space. However, over time, wood can develop imperfections such as cracks and holes. These imperfections not only affect the aesthetic appeal of the wood but can also weaken its structural integrity. Thankfully, with the right tools and techniques, you can easily repair these imperfections and restore the beauty of your wood surfaces. In this section, we will provide you with some helpful tips for filling wood cracks and holes.
1. Assess the Damage
Before you begin the repair process, it is important to assess the extent of the damage. Inspect the wood surface carefully to identify any cracks, holes, or other imperfections. Evaluate the size and depth of the imperfections to determine the appropriate repair method.
2. Gather the Necessary Tools and Materials
Next, gather all the tools and materials you will need for the repair. This may include wood filler or epoxy, a putty knife, sandpaper, a paintbrush, and a stain or paint that matches the wood. Make sure to choose a high-quality wood filler or epoxy that is suitable for the type of wood you are working with.
3. Clean and Prepare the Surface
Before filling the cracks or holes, it is crucial to clean and prepare the surface. Remove any dust, dirt, or loose particles from the wood using a brush or vacuum cleaner. If the wood is painted or stained, you may need to remove the existing finish in the damaged area to ensure proper adhesion of the filler.
4. Fill the Cracks
To fill small cracks in the wood, use a wood filler or epoxy. Apply the filler to the crack using a putty knife, ensuring that it completely fills the gap. Smooth out the surface of the filler with the putty knife, removing any excess material. For larger cracks, you may need to apply the filler in multiple layers, allowing each layer to dry before applying the next.
5. Repair Holes
For small holes in the wood, such as nail holes, use a wood filler or putty. Apply the filler to the hole with a putty knife, overfilling slightly to compensate for shrinkage. Once the filler is dry, sand the surface until it is smooth and level with the surrounding wood.
For larger holes or deep gouges, consider using a wood epoxy. Mix the epoxy according to the manufacturer’s instructions and apply it to the hole with a putty knife. Smooth out the surface of the epoxy and allow it to cure fully before sanding and finishing.
6. Sand and Finish
After the filler or epoxy has dried, it is important to sand the repaired area to achieve a smooth and seamless finish. Start with a coarse-grit sandpaper to level the surface, then gradually move to finer-grit sandpapers for a polished result. Once the surface is smooth, wipe away any dust and apply a matching stain or paint to blend the repaired area with the rest of the wood.
7. Maintain and Protect
Lastly, to ensure the longevity of your wood repairs, it is essential to properly maintain and protect the surface. Regularly clean and dust the wood to prevent dirt and debris from accumulating. Consider applying a protective finish such as varnish or wax to shield the repaired areas from moisture and everyday wear and tear.
Summary
Repairing cracks and holes in wood surfaces is a straightforward process that can be accomplished with the right tools and techniques. By following these tips and taking the time to properly assess, clean, fill, and finish the imperfections, you can restore the beauty and integrity of your wood furniture, flooring, or other wooden items. Remember to choose high-quality materials, follow the manufacturer’s instructions, and take necessary precautions to ensure a successful repair. With a little patience and effort, you can enjoy your beautifully repaired wood surfaces for years to come.

Cleaning and Dusting: Preparing a clean canvas for acrylic paint
Before diving into the world of acrylic painting, it is crucial to prepare a clean canvas to ensure the best outcome for your artwork. Cleaning and dusting the canvas before you start painting helps create a smooth surface for the paint to adhere to, allowing for better brushstroke control and color application. In this section, we will explore the steps involved in cleaning and dusting a canvas before applying acrylic paint.
Gather your materials
Before beginning the cleaning process, gather all the necessary materials to ensure a seamless experience. Here are some essential tools you will need:
- Soft bristle brush or feather duster
- Mild soap or detergent
- Clean water
- Lint-free cloth or paper towels
Removing dust and dirt
The first step in preparing your canvas for acrylic painting is to remove any dust or dirt particles. This helps create a clean surface for the paint to adhere to and prevents unwanted textures or blemishes on your artwork. Here’s how you can effectively remove dust and dirt:
- Use a soft bristle brush or feather duster to gently brush off any loose dirt or dust from the canvas surface. Be gentle to avoid damaging the canvas.
- If there are stubborn areas with dirt or grime, you can dampen a lint-free cloth or paper towel with clean water and gently wipe the affected areas.
Make sure to let the canvas dry completely before moving on to the next step.
Cleaning stains or marks
If your canvas has stubborn stains or marks that cannot be removed with dusting alone, you may need to clean them using a mild soap or detergent. Follow these steps:
- Mix a small amount of mild soap or detergent with clean water in a container.
- Dampen a lint-free cloth or sponge with the soapy water solution.
- Gently scrub the stained area in a circular motion, applying minimal pressure. Avoid scrubbing too vigorously to prevent damaging the canvas.
- Rinse the cloth or sponge with clean water and wipe away any soap residues from the canvas.
Allow the canvas to air dry completely before proceeding with the painting process.
Additional tips for canvas maintenance
Once you have cleaned and dusted your canvas, it is essential to take proper care to maintain its pristine condition. Here are some additional tips:
- Store your canvas in a dust-free environment to prevent accumulation of dirt or debris.
- Avoid touching the canvas surface with bare hands as natural oils from the skin can cause discoloration over time.
- If you need to transport or store your canvas, cover it with a clean cloth or plastic sheet to protect it from dust and scratches.
Summary
Preparing a clean canvas is a crucial step in the acrylic painting process. By removing dust, dirt, and stains from the surface, you create a smooth and pristine canvas for your artwork. Remember to gather the necessary materials, remove dust and dirt gently, clean any stubborn stains with a mild soap solution, and take proper care of your canvas to maintain its condition. With a clean canvas as your starting point, you can unleash your creativity and create stunning acrylic paintings.
Sealing Wood: Enhancing the longevity and durability of your artwork
Wood is a popular medium for artists due to its natural beauty and versatility. However, without proper protection, wood artwork can be vulnerable to damage from moisture, UV rays, and everyday wear and tear. Sealing wood is a vital step in preserving and enhancing the longevity and durability of your artwork. In this section, we will explore the importance of sealing wood and discuss the different methods and products available.
Why is sealing wood important?
Wood is a porous material, meaning it can absorb moisture from the air, leading to swelling, warping, and even rotting. Additionally, exposure to UV rays can cause wood to fade and lose its vibrant colors over time. Sealing wood creates a protective barrier that shields the artwork from these damaging elements, ensuring its long-term preservation.
Types of sealants
There are various types of sealants available for sealing wood artwork, each with its own characteristics and benefits. The choice of sealant depends on the specific requirements of your artwork and the desired outcome.
1. Varnish
Varnish is a popular choice for sealing wood due to its durability and versatility. It forms a hard, transparent film that offers excellent protection against moisture, UV rays, and scratches. Varnish comes in different finishes, such as matte, satin, and gloss, allowing you to achieve the desired aesthetic for your artwork.
2. Polyurethane
Polyurethane is another commonly used sealant for wood artwork. It provides a durable, waterproof coating that enhances the wood’s natural beauty and color. Polyurethane comes in oil-based and water-based formulations, offering different levels of sheen and ease of application.
3. Shellac
Shellac is a traditional sealant made from the secretions of the lac bug. It provides a glossy, protective coating that enhances the wood’s grain and color. Shellac is known for its quick-drying properties and can be easily repaired if damaged.
4. Lacquer
Lacquer is a fast-drying and durable sealant that offers a high-gloss finish. It provides excellent protection against moisture, UV rays, and scratches. Lacquer is commonly used in furniture and woodworking but can also be used for sealing wood artwork.
Application process
The application process for sealing wood artwork may vary depending on the type of sealant you choose. However, there are general steps to follow:
- Prepare the wood surface by sanding it smooth and removing any dust or debris.
- Apply the sealant using a brush, roller, or spray, following the manufacturer’s instructions.
- Allow the sealant to dry thoroughly between coats.
- Sand the surface lightly between coats to ensure adhesion.
- Apply multiple coats of sealant for maximum protection, allowing sufficient drying time between each coat.
- Once the final coat is dry, inspect the artwork for any imperfections and make necessary touch-ups.
Caring for sealed wood artwork
After sealing your wood artwork, proper care and maintenance are essential for its longevity. Here are some tips to ensure your sealed wood artwork stays in pristine condition:
- Avoid placing the artwork in direct sunlight to prevent color fading.
- Clean the artwork regularly with a soft, dry cloth to remove dust and debris.
- Avoid using harsh chemicals or abrasive cleaners that may damage the sealant.
- Consider using coasters, placemats, or felt pads to protect the artwork from scratches and moisture.
- Monitor the artwork periodically for any signs of wear or damage and make necessary repairs or recoat if needed.
Sealing wood is a crucial step in ensuring the longevity and durability of your artwork. By choosing the right sealant and following the proper application process, you can protect your wood artwork from moisture, UV rays, and everyday wear and tear. Regular maintenance and care will further enhance its lifespan, allowing you and others to enjoy its beauty for years to come.
FAQs
1. How do I prepare wood for acrylic paint?
To prepare wood for acrylic paint, start by sanding the surface to create a smooth and even texture. Next, remove any dust or debris by wiping the surface with a damp cloth. Apply a primer specifically designed for wood surfaces, and let it dry completely. Finally, apply your acrylic paint layers, allowing each layer to dry before adding the next.
2. Can I paint directly on untreated wood with acrylic paint?
While it is possible to paint directly on untreated wood with acrylic paint, it is highly recommended to prepare the wood surface first. Untreated wood may absorb the paint unevenly or cause it to peel over time. By following the proper preparation steps, you can achieve better adhesion and a more durable finish.
3. Should I seal my acrylic paint on wood?
Sealing acrylic paint on wood is optional but recommended for added protection and longevity. You can use a clear acrylic sealer or varnish to seal the paint once it has completely dried. This will help protect the paint from moisture, UV damage, and general wear and tear. Follow the manufacturer’s instructions for application and drying times.
Conclusion
In conclusion, preparing wood for acrylic paint is an essential step to achieve a smooth and long-lasting finish. By following a few simple steps, such as cleaning and sanding the wood surface, you can create a perfect canvas for your acrylic masterpiece.
Remember to remove any dirt, dust, or old paint from the wood using a damp cloth or sandpaper. This will ensure that the paint adheres properly and doesn’t peel or chip over time. Additionally, it is recommended to apply a primer or undercoat to create a smooth and even base for your acrylic paint.
By taking the time to properly prepare the wood surface, you can elevate your painting experience and produce a stunning piece of art that will stand the test of time.
