Wondering if acrylic paint can peel off wood? Look no further! Acrylic paint is a versatile and durable option for wood surfaces, offering vibrant colors and long-lasting results. With proper preparation and application, acrylic paint adheres well to wood, minimizing the risk of peeling or flaking. Whether you’re adding a pop of color to a wooden furniture piece or creating a masterpiece on a wooden canvas, acrylic paint is a fantastic choice that will stay put for years to come.

Choosing the Right Sealant for Acrylic Paint on Wood: A Comprehensive Guide
When it comes to painting on wood surfaces, acrylic paint is a popular choice due to its vibrant colors, versatility, and ability to adhere well to different materials. However, to protect your artwork and ensure its longevity, it is essential to apply a sealant over the acrylic paint. In this guide, we will explore the various types of sealants available and help you choose the right one for your acrylic paint on wood.
1. Understanding the Importance of Sealants
Sealants play a crucial role in preserving the quality and appearance of your acrylic paint on wood. They provide a protective barrier that shields the paint from moisture, UV rays, dust, and other external factors that may cause damage or fading over time. Additionally, sealants can enhance the overall finish of your artwork and add a layer of sheen, giving it a professional touch.
2. Different Types of Sealants for Acrylic Paint on Wood
There are several sealants available in the market, each with its own unique properties and suitability for different purposes. Let’s take a look at some popular options:
a) Varnish
Varnish is one of the most commonly used sealants for acrylic paint on wood. It is available in gloss, satin, and matte finishes, allowing you to choose the level of sheen you desire. Varnish provides excellent protection against moisture, UV rays, and general wear and tear. It is easy to apply and dries clear, enhancing the colors of your artwork without altering their appearance.
b) Polyurethane
Polyurethane is a durable and long-lasting sealant that provides a strong protective coat over your acrylic paint on wood. It is available in both water-based and oil-based formulations. While oil-based polyurethane offers a more amber tone and takes longer to dry, water-based polyurethane dries faster and has less odor. Polyurethane provides excellent resistance to scratches, stains, and heat, making it suitable for high-traffic areas.
c) Acrylic Mediums
Acrylic mediums are specifically designed to enhance and protect acrylic paintings. They come in various formulations, including gloss, matte, and satin. These mediums not only act as sealants but also offer additional benefits such as improving adhesion, increasing paint flow, and creating unique texture effects. Acrylic mediums are an excellent choice if you want to add a specific finish or texture to your acrylic paint on wood.
d) Lacquer
Lacquer is a fast-drying sealant that provides a hard and durable finish. It is available in different sheen levels, ranging from high gloss to matte. Lacquer offers excellent protection against moisture, scratches, and chemicals, making it suitable for both indoor and outdoor use. However, it is important to note that lacquer can alter the appearance of your artwork by adding a slight yellow hue.
3. Factors to Consider
When choosing a sealant for acrylic paint on wood, consider the following factors:
- Intended Use: Determine if your artwork will be displayed indoors or outdoors, as this will impact the level of protection required.
- Finish: Decide on the desired sheen level, whether it’s glossy, satin, or matte.
- Application Method: Consider whether you prefer a spray-on sealant or one that can be applied with a brush.
- Drying Time: Take into account the drying time of the sealant, especially if you have time constraints.
- Compatibility: Ensure that the sealant is compatible with acrylic paint and wood surfaces.
4. Application and Maintenance
Once you have chosen the right sealant for your acrylic paint on wood, follow these steps for proper application and maintenance:
- Ensure the painted surface is clean and free from any dust or debris.
- If necessary, sand the surface lightly to create a smoother finish.
- Apply the sealant in thin, even coats, following the manufacturer’s instructions.
- Allow the sealant to dry completely between each coat.
- Avoid exposing the sealed artwork to extreme temperatures or excessive moisture.
- Regularly clean the sealed surface with a mild, non-abrasive cleaner to maintain

How to Prepare Wood Surfaces for Acrylic Paint: Key Steps for Long-Lasting Results
Acrylic paint is a versatile and popular medium used by artists to create beautiful and vibrant artworks. When it comes to painting on wood surfaces, proper preparation is essential to ensure that the paint adheres well and the artwork lasts for a long time. In this section, we will discuss the key steps to prepare wood surfaces for acrylic paint, providing you with the necessary knowledge to achieve long-lasting and professional-looking results.
1. Choose the right wood surface
The first step in preparing wood surfaces for acrylic paint is to select the right type of wood. Different woods have different characteristics and absorb paint differently. Ideally, you should choose a smooth and non-porous wood surface, such as birch plywood or MDF (Medium-Density Fiberboard). These types of wood provide a sturdy and even surface for painting.
2. Clean the wood surface
Before applying any paint, it is important to thoroughly clean the wood surface to remove any dust, dirt, or grease. Start by wiping the surface with a damp cloth or sponge to remove loose debris. For stubborn dirt or grease stains, you can use a mild detergent mixed with water. Rinse the surface with clean water and allow it to dry completely.
3. Sand the wood surface
Once the wood surface is clean and dry, the next step is to sand it. Sanding helps to create a smooth and even surface for the paint to adhere to. Use fine-grit sandpaper (around 220 grit) and sand the entire surface in the direction of the wood grain. This will help to remove any rough patches or imperfections and promote better paint adhesion.
4. Fill any imperfections
If there are any visible cracks, holes, or imperfections on the wood surface, it is important to fill them before painting. Use a wood filler or putty that is suitable for painting. Apply the filler to the imperfections using a putty knife and smooth it out. Allow the filler to dry completely and sand it lightly to achieve a smooth finish.
5. Prime the wood surface
Priming the wood surface is crucial to ensure good paint adhesion and to prevent tannin bleed-through. Apply a coat of acrylic primer specifically designed for wood surfaces. Use a brush or roller to apply an even layer of primer, following the directions on the product. Allow the primer to dry according to the manufacturer’s instructions before proceeding to the next step.
6. Seal the wood surface (optional)
If you want to further protect the wood and enhance the durability of your artwork, you can consider sealing the wood surface. There are various options available, such as using a clear acrylic sealer or a varnish. Apply the sealer or varnish according to the manufacturer’s instructions, ensuring even coverage.
7. Prepare your palette and brushes
Before you start painting, make sure to prepare your palette and brushes. Squeeze out the desired colors of acrylic paint onto your palette and have a container of water nearby to clean your brushes. It is also recommended to have a separate brush for each color to avoid mixing them unintentionally.
8. Start painting
Now that your wood surface is properly prepared, you can begin painting with acrylics. Apply thin layers of paint, allowing each layer to dry before applying the next. This will help to prevent cracking and ensure better adhesion. Use a combination of brushes and different techniques to achieve the desired effects and textures.
9. Allow the paint to dry and cure
Once you have finished painting, it is important to allow the acrylic paint to dry and cure properly. Follow the manufacturer’s instructions on the paint label for drying times. Keep in mind that thicker layers of paint may require longer drying times. Avoid touching or moving the artwork until it is completely dry to prevent smudging or damage.
10. Apply a protective finish (optional)
If you want to provide additional protection to your acrylic painting on wood, you can consider applying a clear protective finish. It helps to prevent the paint from fading and provides a barrier against dust and moisture. Choose a varnish or sealant specifically designed for acrylic paintings and apply it according to the manufacturer’s instructions.
Summary
Properly preparing wood surfaces for acrylic paint is essential to achieve long-lasting and professional-looking results. Start by choosing the right type of wood surface and ensure it is clean and free
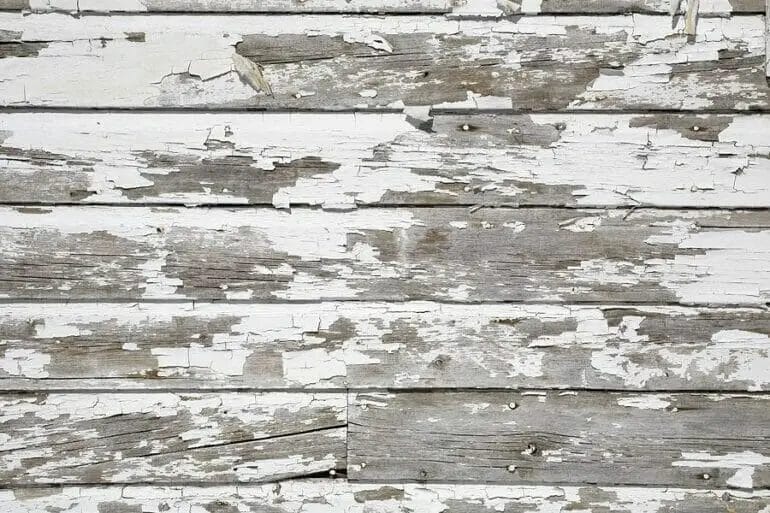
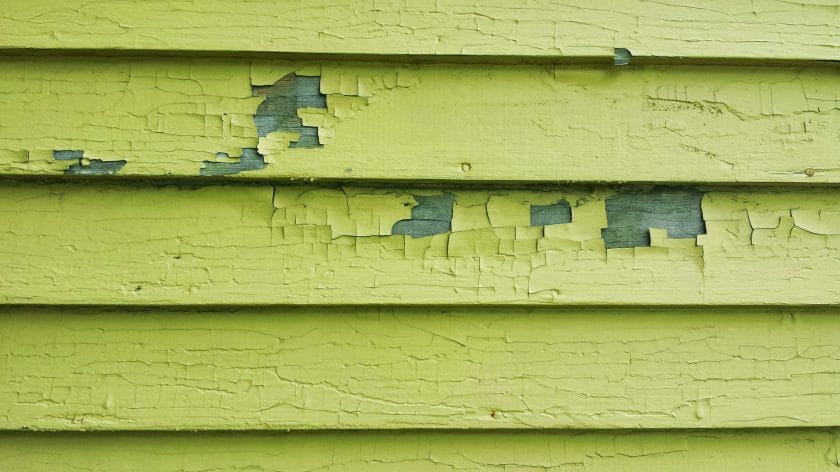
Troubleshooting Peeling Acrylic Paint on Wood: Common Causes and Solutions
Acrylic paint is a popular choice for adding color and protection to wooden surfaces. However, there are times when the paint may start to peel, leaving the surface looking unsightly and requiring touch-ups. In this section, we will explore the common causes of peeling acrylic paint on wood and provide some solutions to troubleshoot and prevent this issue.
1. Poor Surface Preparation
One of the primary causes of peeling acrylic paint on wood is inadequate surface preparation. If the wood surface is not properly cleaned, sanded, and primed before applying the paint, the adhesion between the paint and the wood may be compromised. This can lead to peeling and flaking over time.
To prevent this issue, make sure to follow these steps when preparing the wood surface:
- Clean the surface thoroughly to remove any dirt, dust, or grease.
- Sand the wood to create a smooth and even surface, removing any rough areas or old paint.
- Apply a suitable primer designed for use with acrylic paint. This will improve adhesion and enhance the durability of the paint.
2. Moisture and Humidity
Excessive moisture and humidity can also cause acrylic paint to peel on wood. When wood absorbs moisture, it expands, and as it dries, it contracts. This constant expansion and contraction can weaken the bond between the paint and the wood, leading to peeling.
To address this issue, take the following precautions:
- Avoid painting on wood surfaces that are exposed to direct moisture, such as outdoor furniture.
- Ensure the wood is properly sealed with a moisture-resistant sealer before applying the paint.
- Maintain a controlled indoor environment with moderate humidity levels to minimize moisture-related issues.
3. Incompatible or Low-Quality Paint
The quality and compatibility of the paint used can significantly affect its adhesion and durability on wood surfaces. Using low-quality or incompatible paint may result in peeling and flaking over time.
When choosing paint for wood surfaces, consider the following:
- Use high-quality acrylic paint specifically formulated for wood surfaces.
- Check the paint label to ensure compatibility with the type of wood you are painting.
- Opt for paints with good adhesion and flexibility to withstand the natural movements of the wood.
4. Application Errors
Errors in the application process can also contribute to peeling acrylic paint on wood. Applying paint too thickly, not allowing sufficient drying time between coats, or using the wrong type of brushes or rollers can all impact the paint’s performance and lead to peeling.
Here are some tips to ensure proper paint application:
- Apply paint in thin, even coats, allowing each coat to dry before applying the next.
- Use high-quality brushes or rollers suitable for acrylic paint to achieve smooth and uniform coverage.
- Follow the manufacturer’s instructions regarding application techniques and drying times.
Summary
Peeling acrylic paint on wood can be frustrating, but by addressing the common causes and implementing the appropriate solutions, you can prevent this issue and enjoy a long-lasting, beautiful finish. Remember to properly prepare the surface, consider the moisture and humidity levels, choose high-quality paint, and apply it correctly for the best results.
Enhancing the Durability of Acrylic Paint on Wood: Expert Tips and Finishing Methods
Acrylic paint is a popular choice for painting on wood due to its versatility, vibrant colors, and quick drying time. However, to ensure the longevity of your acrylic paint on wood projects, it is important to take certain measures to enhance its durability. In this section, we will explore expert tips and various finishing methods that can help protect and extend the life of your acrylic paint on wood.
1. Properly prepare the wood surface
Before applying acrylic paint on wood, it is crucial to prepare the surface properly. Start by sanding the wood to create a smooth and even surface. This will help the paint adhere better and prevent it from peeling or cracking over time. Use a fine-grit sandpaper and sand in the direction of the wood grain. Once the sanding is complete, remove any dust or debris from the surface.
2. Apply a primer
To further improve adhesion and durability, consider applying a primer before painting with acrylics. Primers create a barrier between the wood and the paint, ensuring better adhesion and preventing the paint from being absorbed into the wood. Choose a primer that is suitable for both wood and acrylic paint. Apply the primer evenly using a brush or a roller and allow it to dry completely before proceeding with the paint layers.
3. Use high-quality acrylic paints
Investing in high-quality acrylic paints can significantly impact the durability of your artwork on wood. High-quality acrylic paints contain a higher pigment concentration, which results in more vibrant and long-lasting colors. These paints also have better lightfastness, meaning they are less likely to fade when exposed to sunlight or other environmental factors. Look for artist-grade acrylic paints from reputable brands for best results.
4. Layer and seal your artwork
Layering your acrylic paint on wood can not only add depth and dimension to your artwork but also enhance its durability. Consider applying multiple layers of paint, allowing each layer to dry completely before adding the next. This will create a stronger bond and increase the longevity of the paint. Additionally, sealing your artwork with a clear varnish or acrylic sealer can provide an extra protective layer, preventing chipping, cracking, and fading. Choose a varnish specifically designed for acrylic paintings on wood and apply it according to the manufacturer’s instructions.
5. Protect your artwork from environmental factors
While acrylic paint is generally more durable than other types of paint, it is still important to protect your artwork from harsh environmental factors. Direct sunlight, moisture, and extreme temperature changes can all affect the longevity of acrylic paint on wood. Avoid displaying your artwork in areas exposed to direct sunlight for prolonged periods. If your artwork will be displayed outdoors, consider using a UV-protective varnish or coating to minimize color fading. Additionally, keep your artwork away from areas with excessive humidity or temperature fluctuations to prevent warping or cracking of the wood.
6. Handle and store with care
Proper handling and storage of your acrylic paint on wood projects can also contribute to their durability. Avoid touching the painted surface directly with your fingers as the natural oils from your skin can affect the paint over time. Instead, use gloves or handle the artwork by its edges. When storing your artwork, opt for a clean and dry location where it is protected from dust, moisture, and potential physical damage.
In summary, enhancing the durability of acrylic paint on wood involves proper surface preparation, using a primer, using high-quality acrylic paints, layering and sealing the artwork, protecting it from environmental factors, and handling and storing it with care. By following these expert tips and finishing methods, you can ensure that your acrylic paint on wood projects withstand the test of time and maintain their vibrant colors for years to come.
FAQs
Does acrylic paint peel off wood?
Acrylic paint adheres well to wood surfaces and does not typically peel off. However, proper preparation of the wood, including cleaning and sanding, and the use of a primer can help improve adhesion and prevent peeling.
Conclusion:
In conclusion, acrylic paint is a versatile option for adding color and creativity to wood surfaces. While it is known for its durability and resistance to peeling, proper surface preparation and application techniques are crucial to ensure a long-lasting finish. By sanding and priming the wood, and using high-quality acrylic paint, you can minimize the risk of peeling and ensure better adhesion. Additionally, applying a protective topcoat or sealant can provide an extra layer of defense against wear and tear. So, with the right approach, acrylic paint can adhere well to wood and withstand the test of time, providing a vibrant and durable finish.