
Acrylic is currently making its way into the world of trendy home decor. Acrylic furniture makes a great way to add a unique and stylish touch to your home or office, there are so many possibilities to explore in the world of acrylic.
In this article, we’ll walk you through the process of making an acrylic table from start to finish, including tips and tricks to help you along the way.
Overview of the Acrylic Table Making Process
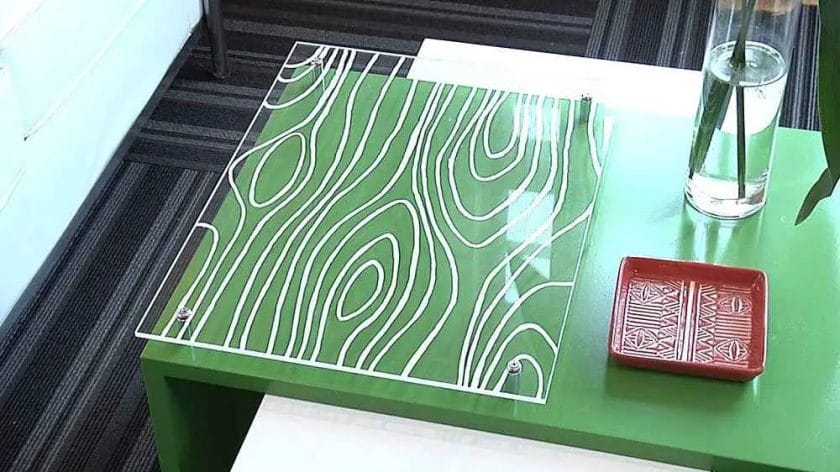
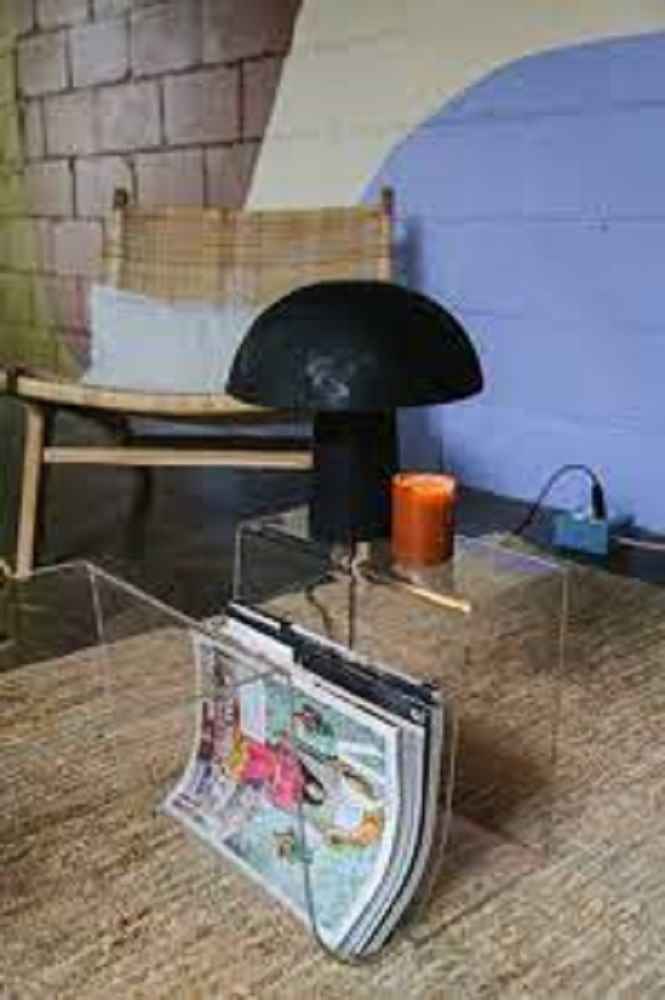
Acrylic tables are known for their durability, transparency, and sleek design. They are a popular choice for modern homes and offices, and can be made in a variety of shapes, sizes, and colors.
The process of making an acrylic table involves measuring and cutting an acrylic sheet, sanding the edges, attaching legs, and finally, cleaning and polishing the table.
Benefits of Making an Acrylic Table
There are many benefits to making your own acrylic table. The most obvious is the cost savings, as making your own table is often much cheaper than buying a pre-made one.
Additionally, you have complete control over the design and style of your table, ensuring that it perfectly matches your home or office decor.
Lastly, the process of making an acrylic table is a great opportunity to hone your DIY skills and create something you can be proud of.
Required Tools and Materials
Before you start making your acrylic table, it’s important to have the right tools and materials on hand.
You’ll need an acrylic sheet, legs, screws, sandpaper, a drill, a saw, and a polishing cloth. A full list of tools and materials can be found in the appendix at the end of this article.
Step-by-Step Process of Making an Acrylic Table
Measure and Cut the Acrylic Sheet
The first step in making an acrylic table is to measure and cut the acrylic sheet. This step requires precision, as even a small mistake can result in a table that is not level or the wrong size.
To ensure accurate measurements, use a ruler or measuring tape, and be sure to make any necessary cuts with a saw that is designed for cutting acrylic.
Sand the Edges of the Acrylic Sheet
Once the acrylic sheet has been cut to size, it’s time to sand the edges. This step is important because it gives the table a smooth, polished look and removes any sharp or rough edges that could be dangerous.
Sandpaper with a fine grit should be used for this step, and it’s recommended to sand in a circular motion to achieve a consistent finish.
Attach the Legs to the Acrylic Sheet
The next step is to attach the legs to the acrylic sheet. This is done by drilling holes in the acrylic sheet, inserting screws into the holes, and then securing the legs in place.
It’s important to choose the right screws for this step, as they must be strong enough to support the weight of the table, but not so long that they come through the other side of the acrylic sheet.
Secure the Legs with Screws
Once the legs have been attached to the acrylic sheet, it’s time to secure them in place with screws. This step is crucial to ensure that the table is stable and will not tip over.
Be sure to tighten the screws securely, but not too tightly, to avoid cracking the acrylic sheet.
Final Steps: Cleaning and Polishing the Table
The final step in making your acrylic table is to clean and polish it. This step is important for removing any dirt, dust, or debris that may have accumulated during the building process, and for giving the table a shiny and polished finish.
A soft cloth and an acrylic polish should be used for this step, and it’s important to avoid using any harsh chemicals that could damage the acrylic.
Tips for a Successful Acrylic Table Making Project
Making an acrylic table is a straightforward process, but there are a few tips that can help ensure a successful outcome.
Importance of Measurements
As mentioned, the key to a successful acrylic table is accurate measurements. Double-check your measurements and cuts, and don’t be afraid to take your time and make small adjustments along the way.
Sanding Techniques for a Smooth Finish
Sanding is a crucial step in the process of making an acrylic table, and it’s important to use the right techniques to achieve a smooth and even finish. Start with a coarse grit sandpaper, and then move to a finer grit for a polished look.
Choose the Right Screws for the Legs
When choosing screws for attaching the legs to the acrylic sheet, it’s important to choose screws that are strong enough to support the weight of the table, but not so long that they come through the other side of the acrylic sheet.
A stainless steel screw with a flat head is recommended, as it provides a clean, polished look and is less likely to rust over time.
Maintenance and Cleaning Recommendations
Acrylic tables are low maintenance and easy to clean. Simply wipe down the table with a soft cloth and an acrylic cleaner to keep it looking its best.
Avoid using harsh chemicals, and be sure to handle the table gently to prevent scratches or cracks.
Conclusion
Making an acrylic table is a fun and rewarding DIY project that can add a unique and stylish touch to your home or office.
With the right tools and materials, and a step-by-step process, anyone can make their own acrylic table. And with its durability, transparency, and sleek design, an acrylic table is sure to be a conversation piece for years to come.
Can I use a different type of adhesive instead of the recommended acrylic cement?
While acrylic cement is the recommended adhesive for making an acrylic table, there are other adhesives that can be used, such as super glue or epoxy.
However, it’s important to make sure that the adhesive you choose is specifically designed for use with acrylic and will not damage or yellow the material over time.
Can I make an acrylic table in a different size or shape than the one described in the article?
Yes, you can make an acrylic table in a size or shape that suits your needs and preferences. The key is to ensure that you have accurate measurements and make cuts that are precise and even.
You can use a jigsaw, circular saw, or a table saw to make cuts, and it’s important to make multiple passes to achieve a clean and precise cut.
Can I use a different type of legs for my acrylic table?
Yes, you can use different types of legs for your acrylic table, such as metal legs or wooden legs.
However, it’s important to make sure that the legs you choose are strong and sturdy enough to support the weight of the table, and that you use the right screws or other fasteners to attach the legs securely.
How do I clean and maintain my acrylic table to keep it looking its best?
Cleaning and maintaining your acrylic table is easy. Simply wipe it down with a soft cloth and an acrylic cleaner to remove any dirt, dust, or debris.
Avoid using harsh chemicals or abrasive materials, and be gentle when handling the table to prevent scratches or cracks.
If you need to remove any marks or stains, use a mild soap and water solution, or an acrylic cleaner specifically designed for removing marks and stains.
What is the difference between a clear acrylic table and a colored acrylic table?
The main difference between a clear acrylic table and a colored acrylic table is the appearance. A clear acrylic table is transparent, while a colored acrylic table has a solid color that is visible through the material.
Clear acrylic is often used for its sleek and modern look, while colored acrylic can be used to add a pop of color to a room or to match a specific decor.