
Yes, you can bake acrylic paint to speed up the drying process and create a durable finish. Baking acrylic painted items in the oven is a popular technique among artists and crafters. By applying heat, the paint cures and becomes more resistant to wear and tear. However, it’s important to note that not all acrylic paints are suitable for baking, so be sure to check the manufacturer’s instructions before attempting this method. Additionally, proper ventilation and temperature control are crucial to ensure safety during the baking process.

How to Bake Acrylic Paint for Long-lasting Results
Acrylic paint is a versatile and popular medium among artists. It offers vibrant colors and a smooth finish, making it a favorite choice for various art projects. However, if you want to ensure the longevity of your acrylic paintings, one effective technique is to bake them. Baking acrylic paint can help to enhance its durability and prevent it from cracking or peeling over time. In this section, we will discuss the step-by-step process of baking acrylic paint to achieve long-lasting results.
1. Prepare Your Materials
Before you begin the baking process, gather all the necessary materials. You will need:
- Acrylic paint
- A heat-resistant surface, such as a baking sheet or ceramic tile
- A small paintbrush or sponge
- An oven or a heat gun
- Protective gloves
- A well-ventilated space
2. Choose the Right Surface
It’s important to use a heat-resistant surface to bake your acrylic paintings. A baking sheet or a ceramic tile works well for this purpose. Avoid using surfaces that may warp or melt under high temperatures.
3. Prepare Your Painting
Clean your painting surface thoroughly and remove any dust or debris. Ensure that the acrylic paint on your artwork is fully dry before proceeding to the baking step.
4. Set Up the Oven
If you’re using an oven for baking, preheat it to a low temperature, around 200°F (93°C). Make sure the oven is clean and free of any grease or food residue. Line the baking sheet with parchment paper to protect your artwork and prevent direct contact with the surface.
5. Place Your Painting in the Oven
Once the oven is preheated, carefully place your painting on the lined baking sheet. Be gentle to avoid any damage or smudging. Ensure that your painting is level and does not touch the sides or any other objects in the oven.
6. Bake the Acrylic Painting
Bake your painting in the oven for a specific duration, depending on the thickness of the paint layers. As a general guideline, bake it for around 20-30 minutes. However, if your painting has multiple layers or thicker applications of paint, you may need to increase the baking time accordingly.
7. Monitor the Process
While the painting is baking, keep a close eye on it to prevent any mishaps. Check the progress every few minutes to ensure that the paint is not bubbling, cracking, or melting. If you notice any issues, remove your artwork from the oven immediately.
8. Cool and Protect Your Painting
Once the desired baking time is complete, carefully remove the baking sheet from the oven and place it on a heat-resistant surface. Allow your painting to cool completely before handling it. Once cooled, you can apply a protective sealant or varnish to further enhance its longevity.
9. Alternative: Using a Heat Gun
If you don’t have access to an oven, you can also use a heat gun to bake your acrylic paintings. Hold the heat gun a few inches away from the painting’s surface and move it in a slow, even motion. Be cautious not to overheat or scorch the paint. Keep the heat gun moving to avoid concentrated heat in one area.
By following these steps, you can successfully bake your acrylic paintings, ensuring their long-lasting results. Baking helps to strengthen the paint layers and improve their adhesion, resulting in a more durable and resilient artwork. Remember to always follow safety precautions and work in a well-ventilated area. With proper care and preservation, your acrylic paintings can withstand the test of time.
The Benefits of Baking Acrylic Paint on Various Surfaces
Acrylic paint is a popular choice among artists and hobbyists alike due to its versatility and vibrant colors. While traditional air-drying methods are commonly used to dry acrylic paint, there is another technique that can be beneficial: baking the paint on various surfaces. In this section, we will explore the benefits of baking acrylic paint and how it can enhance your artistic endeavors.
1. Accelerated Drying Time
One of the primary advantages of baking acrylic paint is its accelerated drying time. When you bake acrylic paint, the heat helps to evaporate the water content in the paint more quickly. This means that your artwork or painted object will dry faster, allowing you to move on to the next steps of your creative process without delays.
Whether you are working on a canvas, a wooden surface, or even on ceramic or glass objects, baking the acrylic paint can significantly reduce the drying time. This is particularly beneficial when you have multiple layers of paint to apply or if you are working on a time-sensitive project.
2. Improved Durability
Baking acrylic paint on various surfaces can also result in improved durability. The heat from the baking process helps to cure the paint, making it more resistant to scratches, chips, and other forms of damage. This is especially advantageous when painting on objects that will be handled frequently or exposed to harsh conditions.
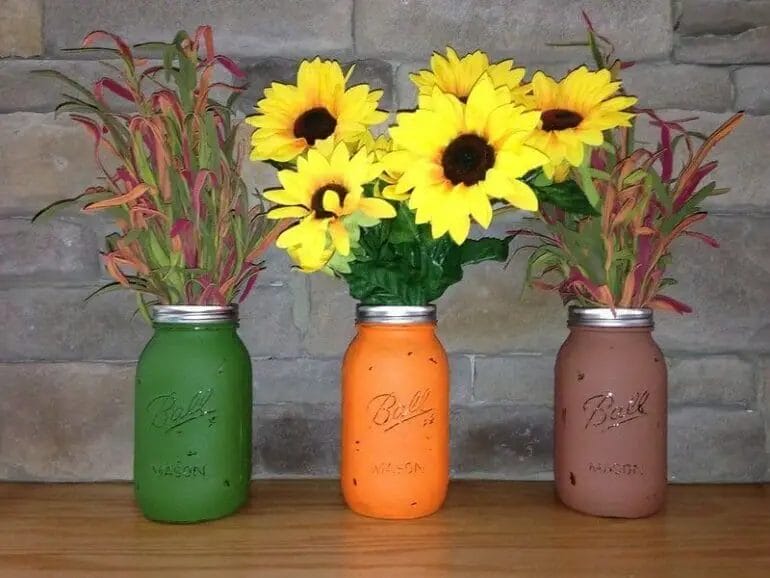
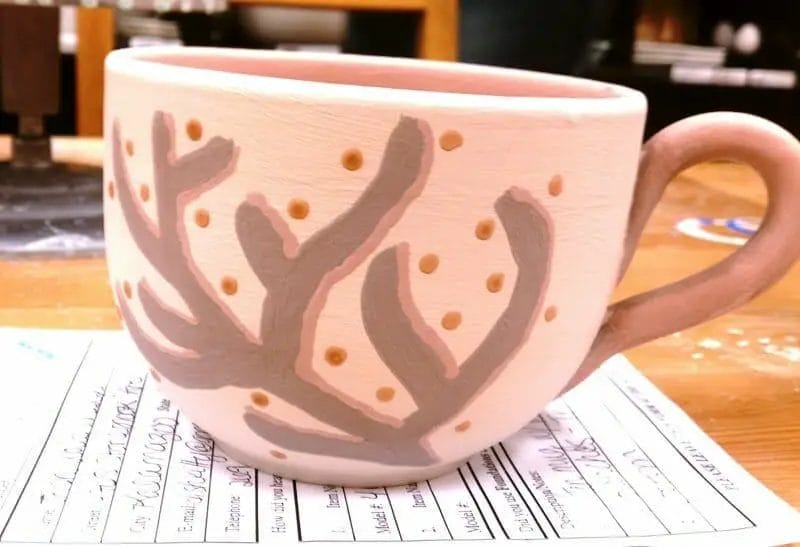
For example, if you are painting a decorative plate or a mug, baking the acrylic paint can help create a more durable finish that can withstand regular use and washing. Similarly, if you are painting on a canvas and want to ensure the longevity of your artwork, baking the paint can help to preserve its quality over time.
3. Enhanced Color Vibrancy
Baking acrylic paint can also enhance the color vibrancy of your artwork. The heat from the baking process allows the paint to set more firmly, resulting in a smoother and more intense color. This can be particularly beneficial when using transparent or translucent acrylic paints, as the baking process helps to bring out their true vibrancy.
Furthermore, baking can also help to seal the colors and prevent them from fading over time. This is especially important when painting on outdoor surfaces or objects that will be exposed to sunlight, as the UV rays can cause acrylic paint to fade. By baking the paint, you can ensure that the colors remain vibrant and true for an extended period.
4. Versatility in Surface Options
Another advantage of baking acrylic paint is the versatility it offers in terms of choices for painting surfaces. While air-drying methods are limited to porous surfaces such as canvas or paper, baking allows you to paint on a wider range of materials.
With the baking technique, you can apply acrylic paint on non-porous surfaces like glass, ceramics, metal, and even plastic. This opens up a whole new range of possibilities for your artistic creations, allowing you to explore different textures, finishes, and unconventional canvas choices. Just make sure to follow the manufacturer’s instructions and recommendations for baking temperatures and times specific to the surface material you are using.
Summary
Baking acrylic paint on various surfaces offers several benefits for artists and hobbyists alike. It accelerates drying time, improves durability, enhances color vibrancy, and provides versatility in surface options. Whether you are a seasoned artist or just starting your creative journey, consider exploring the technique of baking acrylic paint to elevate your artwork and expand your artistic possibilities.
Step-by-Step Guide to Baking Acrylic Paint for a Professional Finish
If you are an artist or a hobbyist who loves working with acrylic paint, you may have heard about the technique of baking acrylic paint to achieve a professional finish. Baking acrylic paint not only helps to set the paint and make it more durable, but it also enhances the colors and gives a glossy finish to your artwork. In this section, we will provide you with a step-by-step guide on how to bake acrylic paint for a professional finish.
Materials You Will Need
- Acrylic paint
- Paintbrushes
- An oven-safe dish or tray
- Parchment paper
- An oven
- Oven thermometer (optional)
Step 1: Preparing Your Artwork
Before you start the baking process, it’s important to prepare your artwork properly. Make sure that the surface you are painting on is clean and free from any dirt or dust. If needed, you can wipe it down with a damp cloth and let it dry completely before applying the paint.
Step 2: Applying Acrylic Paint
Once your surface is ready, you can start applying the acrylic paint. Use your paintbrushes to create your desired design or artwork. Remember to work in thin layers, allowing each layer to dry completely before applying the next one. This will help to prevent cracking or bubbling of the paint during the baking process.
Step 3: Preheating the Oven
Before you place your artwork in the oven, you need to preheat it to the correct temperature. Most acrylic paints require baking at a temperature between 200-300 degrees Fahrenheit (93-149 degrees Celsius). It’s important to check the instructions on your specific brand of acrylic paint to determine the exact temperature and baking time needed.
Step 4: Protecting Your Artwork
To protect your artwork during the baking process, place a sheet of parchment paper on an oven-safe dish or tray. This will prevent the paint from sticking to the surface and ensure a smooth finish.
Step 5: Baking Your Artwork
Carefully place your painted artwork on the parchment paper-lined dish or tray and put it in the preheated oven. Set a timer for the recommended baking time stated on your acrylic paint instructions. It’s essential not to exceed the recommended baking time, as this can lead to discoloration or damage to your artwork.
Step 6: Monitoring the Baking Process
If you have an oven thermometer, it’s a good idea to monitor the temperature during the baking process to ensure it stays within the recommended range. This will help you achieve the desired professional finish without overheating the paint.
Step 7: Cooling and Finishing
Once the baking time is complete, carefully remove the dish or tray from the oven and let your artwork cool completely. Avoid touching or moving the artwork while it’s still hot, as this can cause smudging or damage. Once cooled, you can admire your beautifully finished artwork.
In summary, baking acrylic paint can be a great way to achieve a professional finish for your artwork. By following these step-by-step instructions and taking the necessary precautions, you can enhance the durability, colors, and glossiness of your acrylic paint. Remember to always read the instructions on your specific brand of acrylic paint for the recommended baking temperature and time. Happy baking!
Common Mistakes to Avoid When Baking Acrylic Paint
Baking acrylic paint is a popular technique used by artists and crafters to permanently set their artwork. It involves placing the painted object in an oven at a specific temperature for a certain amount of time, allowing the paint to cure and create a durable finish. However, there are some common mistakes that beginners often make when attempting to bake acrylic paint. In this section, we will discuss these mistakes and offer tips on how to avoid them.
1. Using the Wrong Type of Paint
One of the most common mistakes when baking acrylic paint is using the wrong type of paint. Not all acrylic paints are suitable for baking, and using the wrong type can result in discoloration, bubbling, or even toxic fumes. It is important to use acrylic paint specifically labeled as “oven-safe” or “bakeable”. These paints are formulated to withstand high temperatures and can be safely baked without any negative effects.
2. Not Preparing the Surface Properly
Another mistake to avoid is not properly preparing the surface before baking. Acrylic paint adheres best to clean, dry, and smooth surfaces. Before painting, make sure to clean the object with soap and water, removing any dirt, grease, or dust. If the surface is rough or uneven, consider sanding it lightly to create a smoother canvas for the paint. Proper surface preparation will ensure better adhesion and a more professional-looking finished product.
3. Applying Thick Layers of Paint
Applying thick layers of paint is another common mistake that can lead to issues when baking acrylic paint. Thick layers take longer to cure and may not fully harden during the baking process, leading to a tacky or sticky surface. To avoid this, apply thin layers of paint instead and allow each layer to dry completely before adding another. This will ensure that the paint cures evenly and thoroughly, resulting in a durable and smooth finish.
4. Incorrect Baking Temperature and Time
One of the most crucial aspects of baking acrylic paint is getting the temperature and time right. Baking at too high a temperature can cause the paint to bubble or burn, while baking at too low a temperature may not fully cure the paint. It is important to follow the instructions provided by the manufacturer of the acrylic paint and set your oven to the recommended temperature. Similarly, ensure that you bake the painted object for the specified amount of time. This will ensure that the paint cures properly and creates a long-lasting finish.
5. Not Allowing Sufficient Cooling Time
After baking, another mistake to avoid is not allowing sufficient cooling time for the painted object. Removing the object from the oven too soon can result in the paint not fully setting, leading to smudging or surface damage. It is recommended to let the baked object cool completely inside the oven before removing it. This will ensure that the paint has fully cured and hardened, resulting in a beautiful and durable finish.
In summary, when baking acrylic paint, it is important to use the right type of paint, properly prepare the surface, apply thin layers, bake at the correct temperature and time, and allow sufficient cooling time. By avoiding these common mistakes, you can achieve excellent results and create stunning artwork that will last for years to come.
Exploring Different Techniques for Baking Acrylic Paint to Achieve Unique Effects
In the world of acrylic painting, artists are always seeking new and innovative ways to create unique effects in their artwork. One technique that has gained popularity in recent years is the process of baking acrylic paint. Baking acrylic paint can produce fascinating results, allowing artists to experiment with textures, colors, and finishes that are not easily achieved through traditional painting methods.
1. Textured Effects
When acrylic paint is baked, it has the ability to create interesting and textured effects on the canvas. By applying thick layers of paint and then subjecting them to heat, the paint becomes more malleable and takes on a three-dimensional appearance. This can be particularly useful for creating textured backgrounds or adding depth and dimension to specific elements in a painting.
Artists can experiment with different tools and techniques to create unique textures. For example, using a palette knife to apply the paint can create bold and chunky textures, while a sponge or brush can produce softer and more subtle effects. Baking the paint then helps to set the texture, making it permanent and durable.
2. Crackle and Craze Effects
Another fascinating effect that can be achieved through baking acrylic paint is the crackle or craze effect. This effect is created when the paint contracts and cracks during the baking process, resulting in a cracked or aged appearance.
To achieve the crackle effect, artists can apply a thick layer of paint, and while it is still wet, heat it in the oven. As the paint dries and cools, it contracts and creates the characteristic cracks. By using different colors and layering techniques, artists can create intricate and visually stunning crackle patterns.
3. Glossy or Matte Finishes
Baking acrylic paint also allows artists to experiment with different finishes, such as glossy or matte. By adjusting the baking temperature and duration, artists can control the final appearance of the paint.
To achieve a glossy finish, artists can bake the paint at a higher temperature for a shorter duration. This results in a smooth and shiny surface that enhances the vibrancy of the colors. On the other hand, a matte finish can be achieved by baking the paint at a lower temperature for a longer duration. This creates a more subdued and velvety appearance, perfect for creating a softer or more muted effect.
4. Color Shift
Baking acrylic paint can also lead to an interesting color shift. This occurs when the heat causes the pigments within the paint to react and change color slightly. While the color shift may be subtle, it can add an element of surprise and unpredictability to the artwork.
Artists can experiment with different color combinations and observe how the baking process affects each hue. This can result in unexpected color variations that add depth and visual interest to the painting.
5. Durability and Longevity
Aside from the unique effects that can be achieved, baking acrylic paint also enhances its durability and longevity. The heat from the baking process helps to cure the paint, making it more resistant to fading, cracking, and peeling. This ensures that the artwork will stand the test of time and remain vibrant for years to come.
It is important to note that not all acrylic paints are suitable for baking. Artists should only use acrylic paints that are labeled as heat-resistant and safe for oven use. Additionally, proper ventilation and safety precautions should be followed when using this technique.
Summary
Baking acrylic paint offers artists a unique and exciting way to explore different techniques and achieve one-of-a-kind effects in their artwork. From textured backgrounds to crackle patterns, glossy or matte finishes, color shifts, and enhanced durability, the possibilities are endless. By experimenting with various materials, tools, and baking temperatures, artists can push the boundaries of their creativity and create stunning pieces that captivate the viewer.
Frequently Asked Questions
Can you bake acrylic paint?
No, you cannot bake acrylic paint. Acrylic paint dries when exposed to air, not heat. Baking it may cause the paint to bubble, crack, or change color. It’s best to allow acrylic paint to air dry naturally.
How long does it take for acrylic paint to dry?
The drying time of acrylic paint varies depending on factors such as humidity, thickness of paint, and the type of surface it is applied to. Generally, acrylic paint can dry to the touch within 20-30 minutes, but it may take anywhere from a few hours to several days for the paint to fully cure.
Can you mix different brands of acrylic paint together?
Yes, you can mix different brands of acrylic paint together. Acrylic paint is generally compatible with other brands, as long as they are both water-based and have similar drying times. However, it’s a good idea to test the mixture on a small surface before applying it to your artwork to ensure compatibility and desired results.
Conclusion
In conclusion, while it is possible to bake acrylic paint, it is not recommended. Acrylic paint is designed to be air-dried, not baked. Baking acrylic paint can cause it to become brittle, crack, or lose its vibrant colors. It is best to follow the manufacturer’s instructions for drying and curing acrylic paint, which typically involves allowing it to air-dry for the recommended amount of time.
Instead of baking acrylic paint, it is advised to use proper techniques such as layering thin coats, allowing proper drying time between layers, and using sealants for a longer-lasting finish. Additionally, storing acrylic paintings in a cool, dry place can help preserve their quality and prevent any damage that baking might cause.