
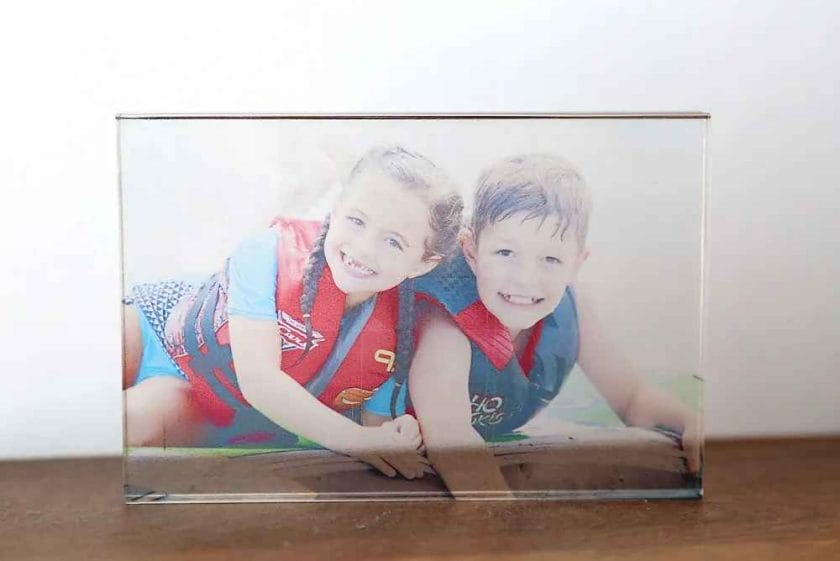
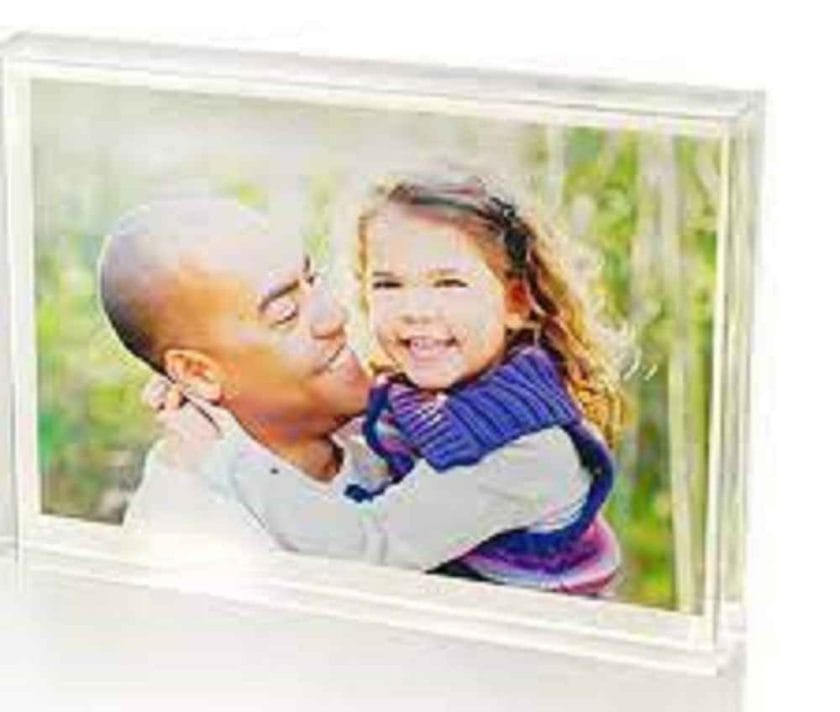
Acrylic photo blocks are a unique and stylish way to display your favorite memories. Made from clear acrylic sheets, these blocks add a touch of sophistication to any room in your home or office.
They are easy to make and provide a durable and long-lasting way to showcase your photos. In this article, we will provide a comprehensive and step-by-step guide on making acrylic photo blocks.
Benefits of Acrylic Photo Blocks
Durability:
Acrylic is a strong and long-lasting material that can withstand daily wear and tear. It is resistant to scratches, cracks, and fading, making it an ideal material for displaying photos.
Versatility:
Acrylic photo blocks can be made in a variety of sizes and shapes to suit your preferences and the decor of your room. They can also be displayed in a variety of ways, such as on a shelf, desk, or wall.
Uniqueness:
Unlike traditional photo frames, acrylic photo blocks offer a clear, modern, and minimalist look that sets them apart. They are an eye-catching way to display your photos and will surely become a conversation piece.
Materials and Tools
To make acrylic photo blocks, you will need the following materials:
- Acrylic sheets
- Printed photos
- Adhesive
- Ruler
- Cutting tool (such as a box cutter or circular saw)
- Sandpaper or polishing cloth
- Cleaning cloth
When selecting your materials, it’s important to choose high-quality acrylic sheets and a clear, vibrant photo print. Consider the size of your blocks and choose acrylic sheets and photos accordingly.
A good rule of thumb is to choose acrylic sheets that are at least 3 times thicker than the thickness of your photos.
Tools you will need include a ruler, cutting tool, sandpaper or polishing cloth, and cleaning cloth. A box cutter or circular saw works well for cutting the acrylic sheets, but you can also use a table saw or jigsaw if you prefer.
Step-by-Step Process for Making Acrylic Photo Blocks
Making acrylic photo blocks is a simple and straightforward process that can be completed in a few easy steps. The following sections will guide you through the process of preparing, assembling, and finishing your acrylic photo blocks.
Preparation
The first step in making acrylic photo blocks is to clean the acrylic sheets. Use a cleaning cloth and a small amount of mild soap and water to remove any dust, fingerprints, or smudges from the surface of the acrylic sheets.
Next, print your photos on high-quality photo paper. Make sure the photos are clear, vibrant, and the correct size for your acrylic blocks. You may need to make adjustments to the size and resolution of your photos before printing to ensure they look their best.
Assembly
Once your photos are printed and your acrylic sheets are cleaned, it’s time to assemble your acrylic photo blocks. Begin by cutting the acrylic sheets to the desired size and shape using a cutting tool.
Next, attach the photos to the acrylic sheets using adhesive. Carefully align the photos with the acrylic sheets and press them firmly in place.
Make sure the photos are centered and there are no air bubbles between the photo and the acrylic.
To secure the photo and ensure it stays in place, apply a small amount of adhesive around the edges of the photo and smooth it out with your fingers. Be sure to let the adhesive dry completely before proceeding to the next step.
Finishing
The final step in making acrylic photo blocks is to finish the edges and clean the surface. Use sandpaper or a polishing cloth to sand the edges of the acrylic sheets until they are smooth and free of any rough or jagged edges.
Finally, clean the surface of the acrylic photo blocks using a cleaning cloth to remove any fingerprints or smudges. You can also use a small amount of mild soap and water if necessary.
Tips and Tricks
Here are some tips and tricks to help you make the best acrylic photo blocks possible:
Best Practices for Printing Photos:
To ensure your photos look their best, choose high-quality photo paper and print them in high resolution. Adjust the size and resolution of your photos as needed to ensure they fit your acrylic sheets and look clear and vibrant.
Handling and Storage:
To protect your acrylic photo blocks from scratches, cracks, and fading, store them in a cool, dry place away from direct sunlight and heat. Handle them with care and use a soft cloth to clean them.
Displaying Acrylic Photo Blocks:
There are many creative ways to display acrylic photo blocks. Consider placing them on a shelf, desk, or wall, or group them together to create a unique photo display.
You can also use stands or brackets to display them on a tabletop or mantel.
Conclusion
Acrylic photo blocks are a beautiful and unique way to display your favorite photos. By following the step-by-step instructions in this article, you can make your own acrylic photo blocks with ease.
Whether you’re a seasoned DIY enthusiast or just starting out, this guide will provide you with everything you need to make stunning acrylic photo blocks that you’ll be proud to display.
What type of acrylic sheets should I use for making acrylic photo blocks?
Acrylic sheets with a clear or transparent finish are the best choice for making acrylic photo blocks. You can also opt for sheets with a frosted or matte finish, but these will give your photos a slightly softer, muted look.
Be sure to choose high-quality acrylic sheets that are free of any scratches, cracks, or bubbles to ensure your finished product looks its best.
What type of adhesive should I use to attach the photos to the acrylic sheets?
You can use a variety of adhesives to attach your photos to the acrylic sheets, but double-sided tape or a clear, acid-free glue are the best options.
Double-sided tape provides a quick and easy solution, while a clear, acid-free glue gives you a little more time to adjust the position of your photos.
Just be sure to choose an adhesive that is specifically designed for use with photos and acrylic to avoid any damage or discoloration.
How do I clean acrylic photo blocks?
To clean your acrylic photo blocks, simply use a soft, clean cloth to gently wipe away any fingerprints, smudges, or dirt.
You can also use a small amount of mild soap and water, but be sure to avoid any harsh chemicals or abrasive materials that could damage the acrylic surface.
How should I store my acrylic photo blocks to protect them from damage?
To protect your acrylic photo blocks from scratches, cracks, and fading, store them in a cool, dry place away from direct sunlight and heat. Handle them with care and use a soft cloth to clean them.
You can also use a soft, protective cloth or bag to cover them when not in use.
Can I hang my acrylic photo blocks on the wall?
Yes, you can hang your acrylic photo blocks on the wall, but you’ll need to purchase wall mounting hardware specifically designed for use with acrylic.
There are several types of wall mounts available, including adhesive strips, suction cups, and wall brackets, so be sure to choose the right one for your needs.
When hanging your acrylic photo blocks, be sure to follow the manufacturer’s instructions carefully to ensure they are securely and safely mounted to the wall.