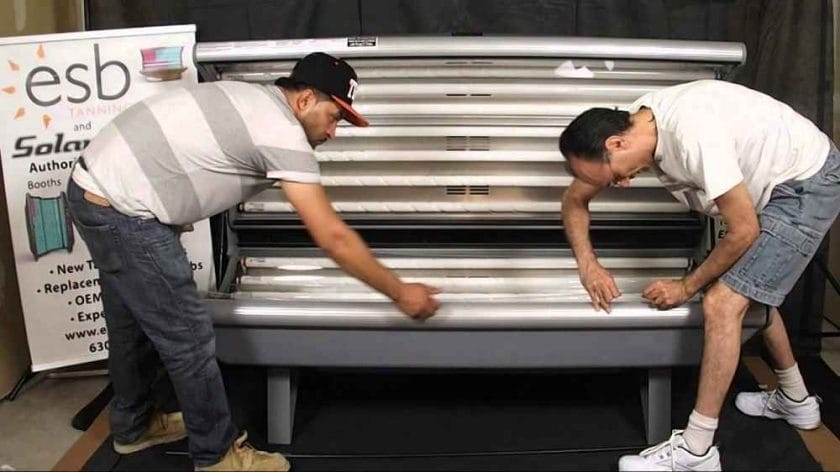
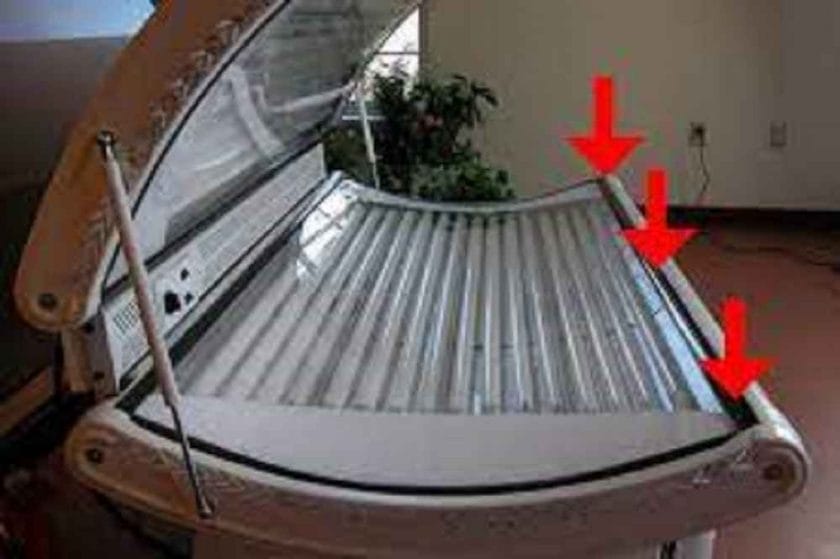
Acrylic is a type of plastic that is commonly used in tanning beds as the cover for the tanning lamps. Over time, acrylic can become scratched, discolored, and may need to be replaced for the bed to function properly.
Removing the acrylic from a tanning bed can seem like a daunting task, but with the right tools and preparation, it can be done safely and effectively. In this article, we will provide a comprehensive guide on how you can remove acrylic from a tanning bed.
Understanding the Types of Acrylic Used in Tanning Beds
It is important to know the type of acrylic that is used in your tanning bed before starting the removal process. There are two main types of acrylic used in tanning beds: cast and extruded.
Cast acrylic is stronger and more durable, while extruded acrylic is lighter and more flexible. The type of acrylic used will determine the best method for removing it.
Tools and Supplies Needed to Remove Acrylic
Having the right tools and supplies is essential for removing acrylic from a tanning bed safely and efficiently. The following items are recommended:
- Screwdrivers
- Pliers
- Razor blades
- Mineral spirits
- Acrylic solvent
- Soft cloths
It is important to have the proper tools for removing screws, as well as a solvent for dissolving the adhesive used to attach the acrylic to the tanning bed.
Preparation Steps Before Removing Acrylic
Before starting the removal process, it is important to take certain safety precautions to protect yourself and your tanning bed. The following steps should be taken to prepare for the removal process:
- Turn off the tanning bed and unplug it from the power source
- Put on gloves to protect your hands from the solvent and sharp edges of the acrylic
- Cover the tanning bed with a protective cloth to prevent scratches
- Locate the screws that secure the acrylic to the tanning bed
By following these preparation steps, you can ensure that the removal process is completed safely and without damaging the tanning bed.
Step-by-Step Guide on Removing Acrylic
Now that the preparation steps have been completed, it is time to remove the acrylic from the tanning bed. The following is a step-by-step guide on how to remove acrylic:
- Loosen the screws that secure the acrylic to the tanning bed using a screwdriver.
- Carefully lift the edge of the acrylic and gently pry it away from the tanning bed using a razor blade or pliers.
- Apply the acrylic solvent to the adhesive that is still attached to the tanning bed. The solvent will help to dissolve the adhesive, making it easier to remove the acrylic.
- Wait a few minutes for the solvent to work before continuing to remove the acrylic.
- Using a soft cloth, gently wipe away the dissolved adhesive and any residual solvent. Repeat the process as needed until all of the adhesive is removed.
Tips and Tricks for Making the Removal Process Easier
- Work slowly and carefully to avoid damaging the tanning bed or cutting yourself on the sharp edges of the acrylic.
- Use a solvent specifically designed for removing acrylic to ensure that the adhesive is dissolved effectively.
- Keep a bucket of water nearby in case you need to rinse your cloth or wash your hands.

Cleaning and Maintenance After Removing Acrylic
Once the acrylic has been removed, it is important to clean the tanning bed to remove any residual solvent or adhesive. The following steps should be taken to clean the tanning bed:
- Wipe down the tanning bed with a soft cloth to remove any residue.
- Use a damp cloth to remove any stubborn spots or stains.
- Allow the tanning bed to dry completely before installing the new acrylic.
Maintaining the tanning bed regularly can help to extend its lifespan and ensure that it functions properly. Recommendations for maintaining the tanning bed include:
- Cleaning the tanning bed after each use to remove any sweat or oils that may damage the acrylic.
- Replacing the acrylic periodically to maintain the appearance and performance of the tanning bed.
- Turning off the tanning bed and unplugging it from the power source when it is not in use to prevent damage from surges or power outages.

Conclusion
Removing acrylic from a tanning bed can seem like a daunting task, but with the right tools and preparation, it can be done safely and effectively.
By following the steps outlined in this article, you can remove the acrylic from your tanning bed and keep it in good working order. Regular cleaning and maintenance can also help to extend the lifespan of the tanning bed and ensure that it functions properly.
Can I remove acrylic from a tanning bed on my own?
Yes, you can remove acrylic from a tanning bed on your own as long as you have the right tools and follow the steps outlined in this article.
However, if you are not comfortable with the process, it is always recommended to consult a professional.
What kind of solvent should I use to remove the adhesive?
It is recommended to use an acrylic solvent specifically designed for removing acrylic adhesives. This type of solvent will be effective in dissolving the adhesive without damaging the tanning bed.
Is it necessary to turn off and unplug the tanning bed before removing the acrylic?
Yes, it is important to turn off the tanning bed and unplug it from the power source before removing the acrylic to ensure your safety and to prevent damage to the tanning bed.
How often should I replace the acrylic in my tanning bed?
The frequency of replacing the acrylic in a tanning bed will depend on how often it is used and how well it is maintained.
Regular cleaning and maintenance can help to extend the lifespan of the acrylic, but it is typically recommended to replace it every 2-3 years.
Can I use a different type of solvent besides an acrylic solvent to remove the adhesive?
Using a different type of solvent besides an acrylic solvent may not be effective in dissolving the adhesive and could potentially damage the tanning bed.
It is recommended to use an acrylic solvent specifically designed for removing acrylic adhesives to ensure that the adhesive is removed effectively and without damage.
