
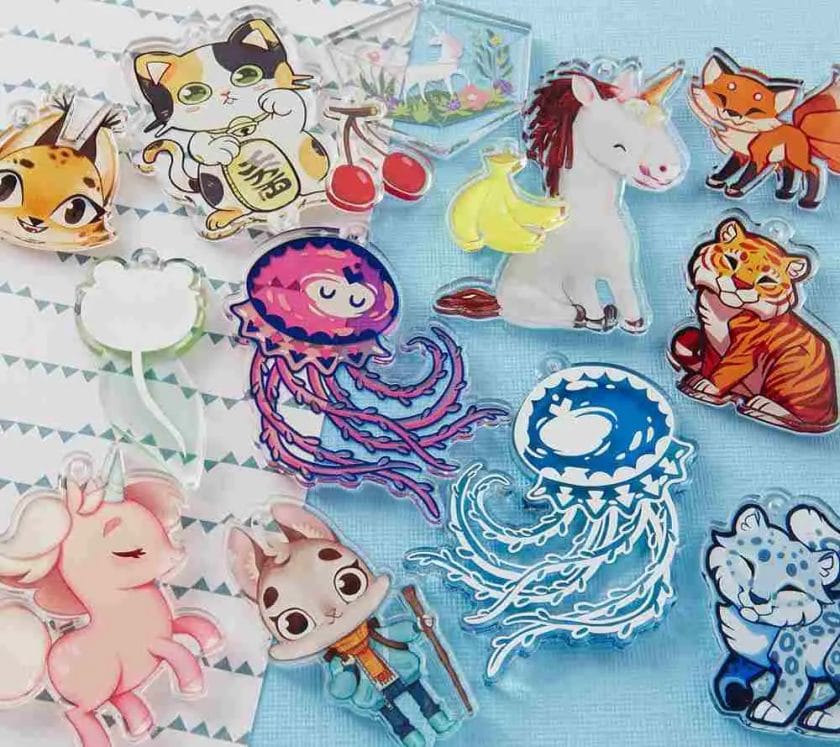
Acrylic charms are small, decorative items that can be used in a variety of ways, from keychains to jewelry. Acrylic charms are popular among crafters, artists, and fans of pop culture, and they are also a great way to express your personality and add some fun to your belongings.
The purpose of this article is to provide a comprehensive guide on how to make acrylic charms with unique designs.
Whether you’re a beginner or an experienced crafter, this article will help you understand the materials and tools needed, the steps involved, and some tips and tricks to make the process easier.
Materials Used in Making Acrylic Charms
To make acrylic charms, you will need a few basic materials, including:
Acrylic sheets:
These are the main component of your charm and can be found in a variety of colors and thicknesses. Choose a thickness that is suitable for your design, keeping in mind that thicker sheets are more durable but harder to cut.
Laser cutter:
This is a tool that uses a laser beam to cut the acrylic into your desired shape. A laser cutter is not necessary, but it makes the process much easier and more precise.
If you don’t have access to a laser cutter, you can use a craft knife, but be prepared for a longer and more difficult process.
Drill press:
This is a tool that is used to drill holes into the acrylic. The drill press ensures that the holes are straight and precise, making it easier to assemble your charm.
If you don’t have access to a drill press, you can use a hand drill, but be careful to keep the holes straight.
Keychain hardware:
This is what you will use to attach the charm to your keychain or other item. There are many different types of keychain hardware available, including key rings, lanyards, and clips.
Choose the hardware that best suits your needs.
Adhesive:
This is used to glue the acrylic pieces together. There are many different types of adhesives suitable for use with acrylic, including superglue, hot glue, and epoxy.
Choose the adhesive that works best for your design.
Paint and markers:
These are used to add color and detail to your charm. There are many different types of paints and markers available, including acrylic paint, watercolor paint, and permanent markers.
Choose the materials that best suit your design.
Steps in the Process of Making Acrylic Charms
Now that you understand the materials and tools needed, it’s time to start making your charm! The process can be broken down into several simple steps:
Design creation:
The first step is to create your design. You can do this by hand, or you can use a computer program like Adobe Illustrator to create a digital design.
Keep in mind that the design needs to be in reverse so that it will look correct when cut out of the acrylic.
Cutting the acrylic sheets:
Once your design is complete, it’s time to cut the acrylic sheets. If you’re using a laser cutter, simply upload your design and let the machine do the work.
If you’re using a craft knife, carefully trace your design onto the acrylic and then cut it out.
Drilling holes:
If your design requires holes, this is the time to drill them. Use a drill press to ensure that the holes are straight and precise.
If you’re using a hand drill, be careful to keep the holes straight.
Sanding and smoothing:
After cutting and drilling, it’s important to sand and smooth the edges of the acrylic pieces to remove any rough spots or sharp edges. You can use sandpaper or a sanding tool to do this.
Make sure to be gentle and work slowly, as acrylic is a brittle material and can easily crack if you apply too much pressure.
Painting and coloring:
If your design requires coloring, this is the time to do it. You can use paint, markers, or a combination of both.
Make sure to follow the manufacturer’s instructions for the materials you’re using, and allow the paint to dry completely before proceeding to the next step.
Assembly:
Now it’s time to assemble your charm. Use adhesive to glue the acrylic pieces together, making sure to follow your design carefully. Be patient and allow the adhesive to dry completely before moving on to the next step.
Adding keychain hardware:
The final step is to add the keychain hardware to your charm. Simply attach it to the back of the acrylic using the holes you drilled earlier.
If your design requires a lanyard or clip, attach it to the keychain hardware using a small piece of string or wire.
And that’s it! You now have a custom acrylic charm that you can use to decorate your belongings or give as a gift.
Tips and Tricks
Here are a few tips and tricks to help you make the best acrylic charms:
Choose the right acrylic sheets:
Acrylic sheets come in different thicknesses, colors, and finishes. Choose the type that best suits your design, keeping in mind that thicker sheets are more durable but harder to cut.
Design considerations:
When creating your design, think about the size and shape of the charm, and make sure that it will be comfortable to hold and easy to use. Consider the colors you want to use, and think about how they will look when the charm is finished.
Painting techniques:
When painting acrylic, it’s important to use a paint that is specifically designed for use with acrylic. Make sure to follow the manufacturer’s instructions, and allow the paint to dry completely before proceeding to the next step.
Consider using a clear coat to protect your paint and give the charm a polished look.
Assembly tips:
When assembling your charm, make sure to use enough adhesive to ensure that the pieces are securely held together. Be patient and allow the adhesive to dry completely before moving on to the next step.
If you’re using a laser cutter, make sure to cut the pieces in the correct order to avoid having to redo any steps.

Conclusion
In this article, we have provided a comprehensive guide to making acrylic charms. We covered the materials and tools needed, the steps involved, and some tips and tricks to make the process easier.
Whether you’re a beginner or an experienced crafter, we hope that this guide has helped you understand the process and inspired you to create your own unique designs. So go ahead and get started – the possibilities are endless!